
Last updated November 2, 2026
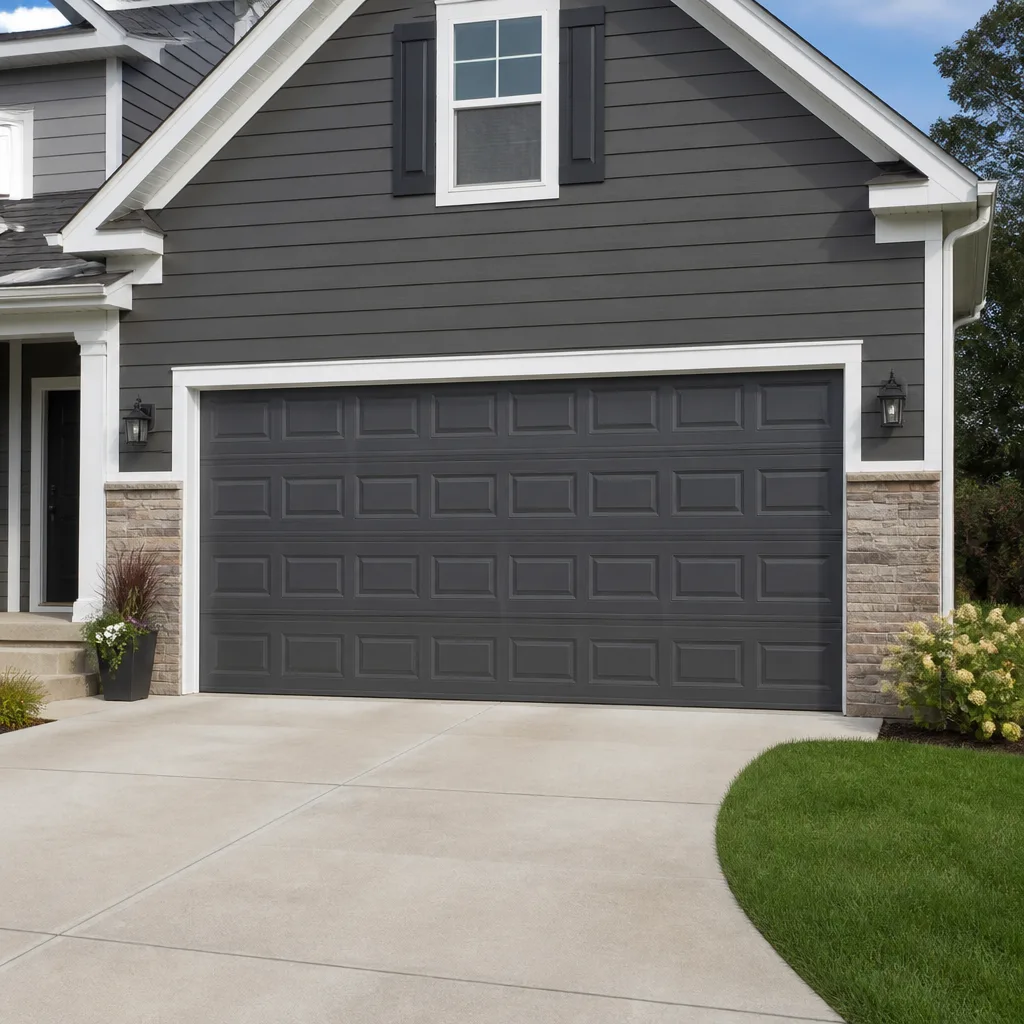 Raised-panel steel
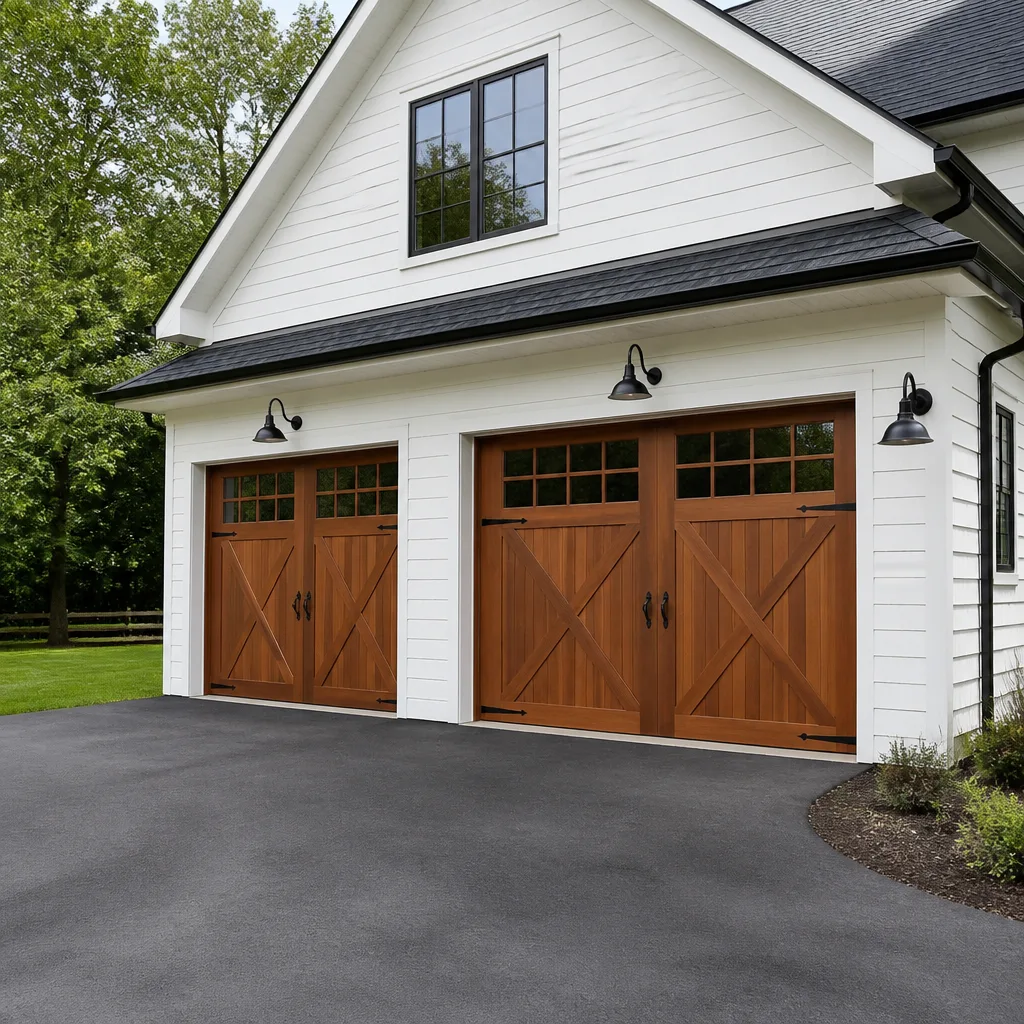 Carriage house
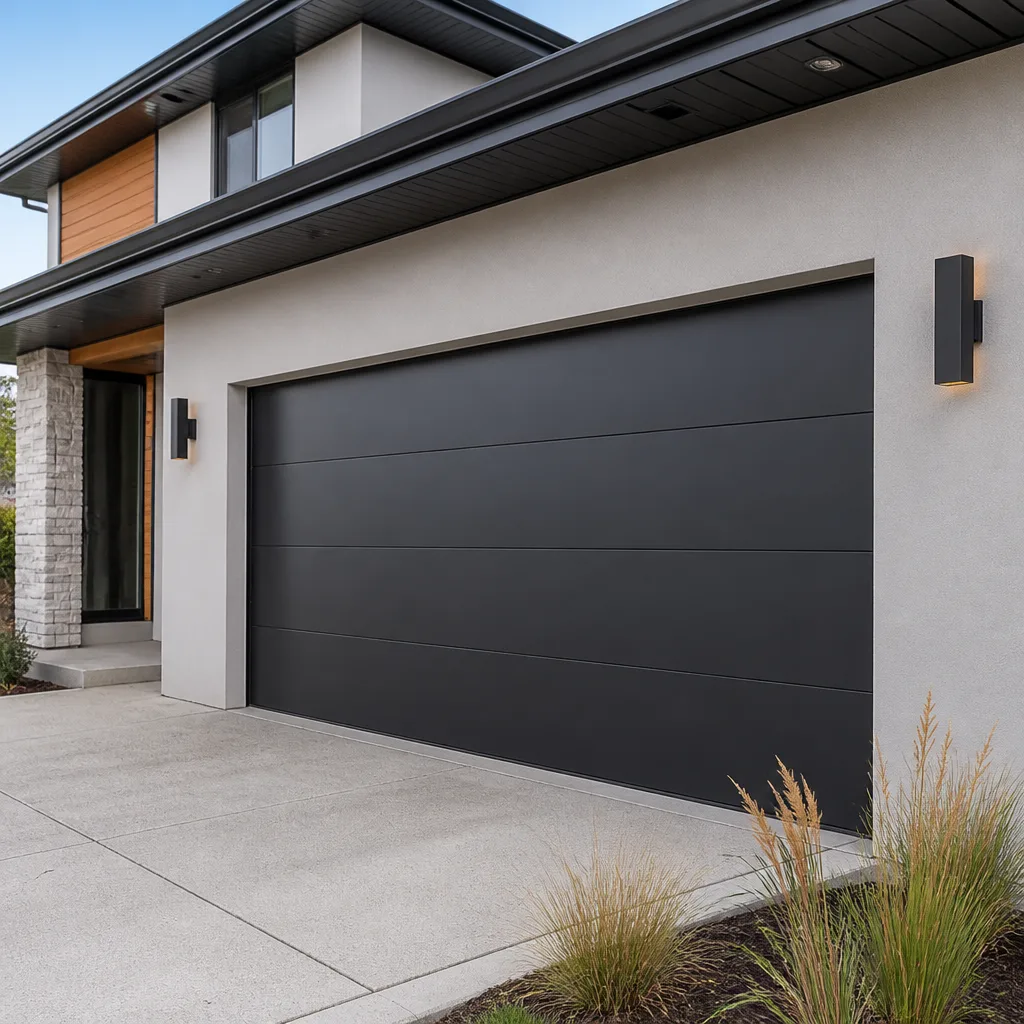 Modern flush
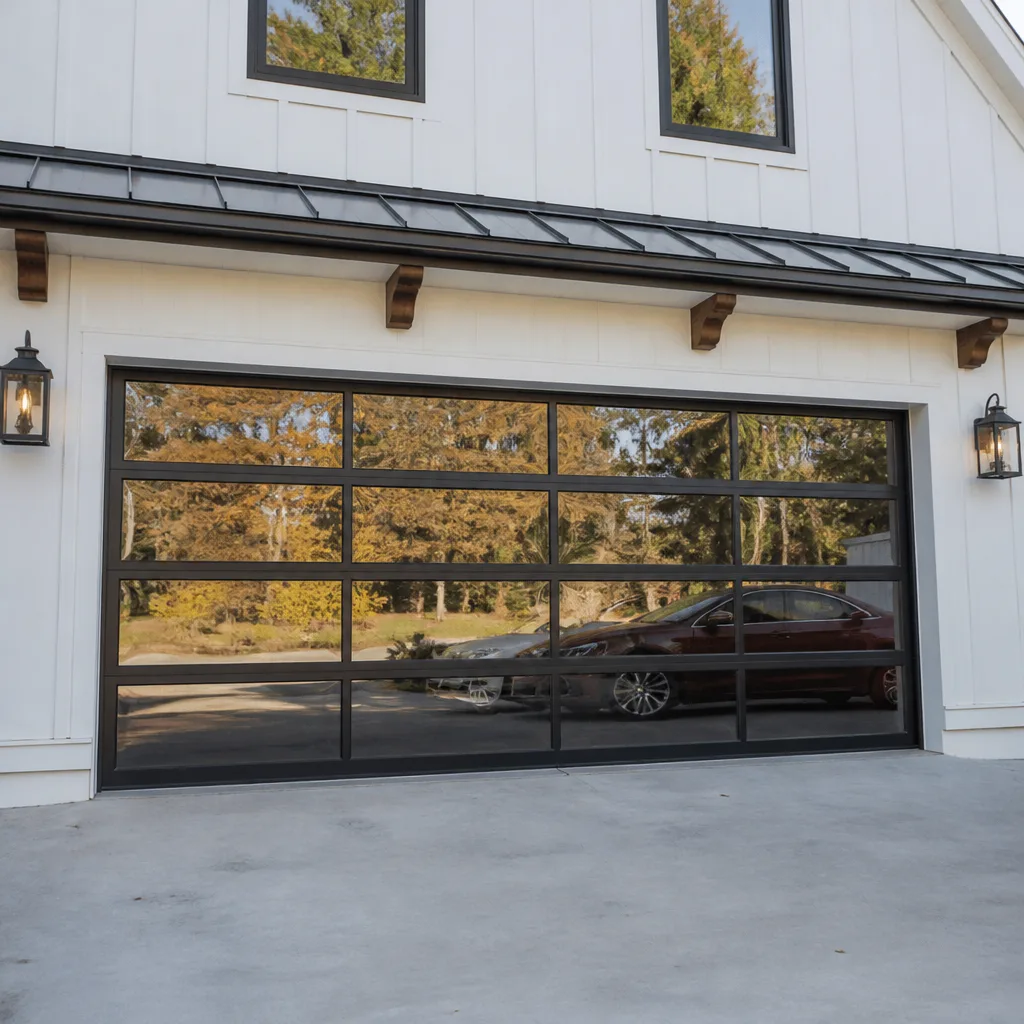 Full-view glass
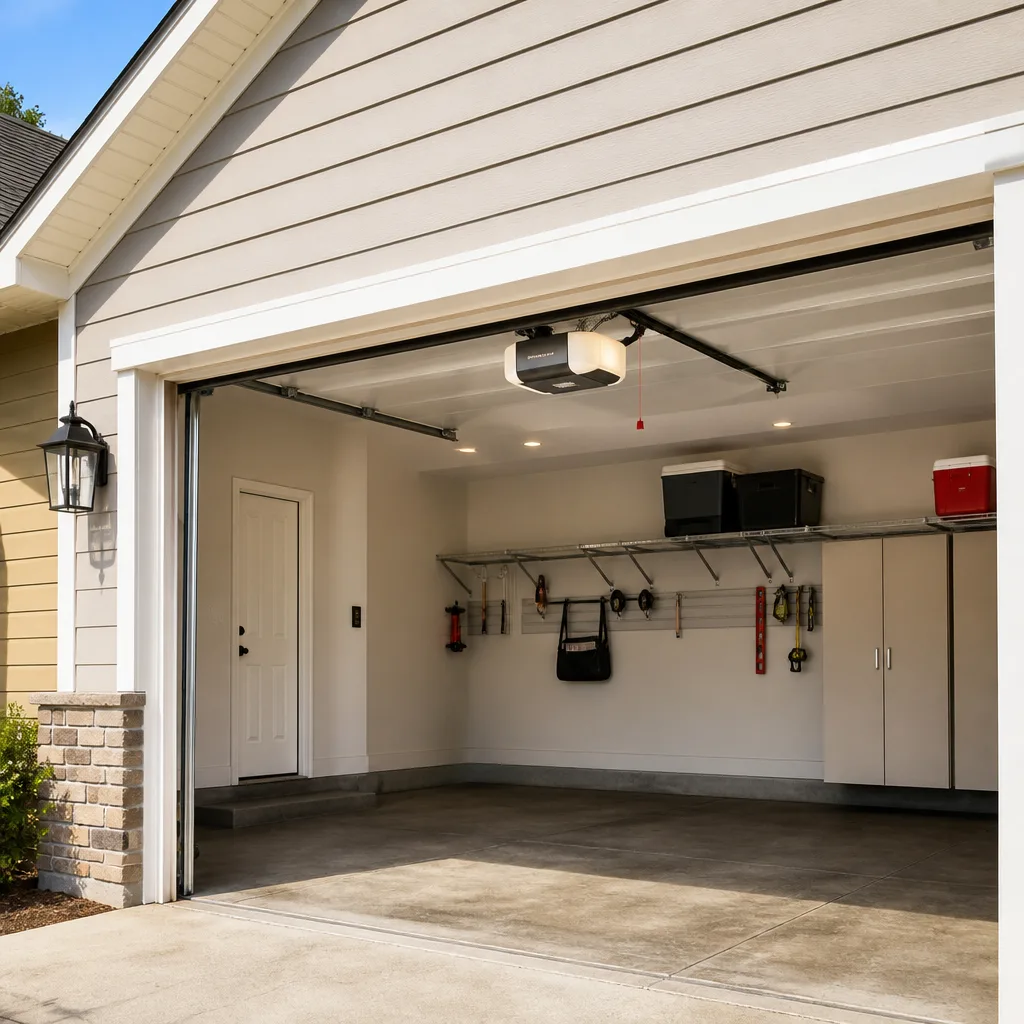 LiftMaster openers
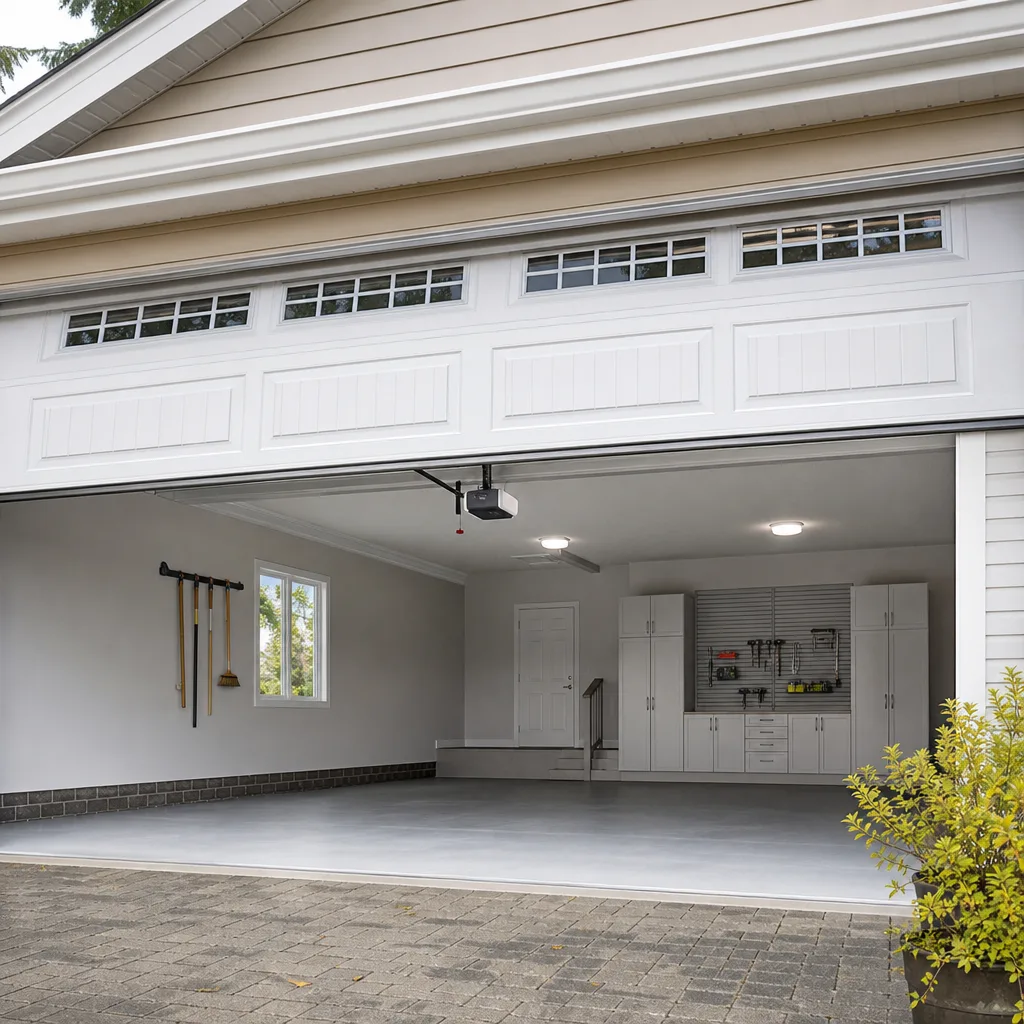 Chamberlain openers
Full 25-point door and opener safety check with every visit - springs, cables, rollers, tracks, and your LiftMaster or Chamberlain opener included
You get a price before we start. It does not change when the truck arrives.
Get your free estimateGarage Door Repair Maintenance Checklist for San Jacinto Homeowners
Most garage door maintenance advice online reads like it was written for a mild coastal climate. San Jacinto is not that. Our summers routinely push past 100°F, the Santa Ana winds carry fine dust through every gap, and the temperature swings between August afternoons and December nights put real stress on metal components. A generic checklist that says “lubricate once a year” is a recipe for a seized roller or a snapped spring in a Hemet-adjacent garage. This guide – along with more guides & resources on our site – is built around what we actually see failing on doors across San Jacinto, from the older Rancho San Jacinto subdivisions to newer neighborhoods near the Soboba foothills. You’ll get a task list calibrated to our heat, our dust, and our wind, with realistic time estimates so you can actually do this.
Quick Answer
A garage door maintenance routine for San Jacinto should include quarterly lubrication (not annual, due to our dry heat), monthly visual spring checks, post-windstorm track and seal inspections, and twice-yearly thermal expansion checks on panel alignment. You can knock out a basic walkthrough in 20 minutes per quarter using the checklist below, and a deeper annual inspection takes about an hour.
Styles & brands we work with
- Raised-panel steel
- Carriage house
- Modern flush
- Full-view glass
- LiftMaster openers
- Chamberlain openers
Table of Contents
- Why the San Jacinto Climate Changes Your Maintenance Schedule
- Quarterly Lubrication: The San Jacinto Schedule
- Post-Windstorm Dust and Debris Checks
- Spring Tension Checks Without Tools
- Thermal Expansion: Panel Gaps and Alignment Drift
- The 20-Minute Quarterly Walkthrough
- The Annual Deep Inspection (60 Minutes)
- Common Mistakes to Avoid
- When to Call a Professional
- Frequently Asked Questions
Why the San Jacinto Climate Changes Your Maintenance Schedule
San Jacinto sits in the San Jacinto Valley, where summer temperatures regularly exceed 100°F and relative humidity often drops below 15%. That combination does two things to a garage door. First, it accelerates the evaporation of any lubricant you apply, turning grease into a sticky paste or leaving dry metal on metal within months. Second, it causes thermal cycling: the metal rails, panels, and springs expand during the day and contract at night, and a 40°F swing between daytime high and nighttime low is common in the fall. Over the course of a single year, your door components go through hundreds of expansion and contraction cycles. That’s why a spring that looks fine in March can shear in November.
Wind is the second factor. The Santa Ana events that push through the pass bring fine particulate dust from the dry riverbeds and open land east of town. That dust works into rollers, hinges, and the bottom seal track, acting like sandpaper on moving parts. Homeowners in the newer developments off Sanderson Avenue and the older grid near the college both deal with this, though the open-field homes catch more of it. Add in the occasional monsoon-season microburst, and you get a maintenance environment closer to Arizona than to the Orange County coast.
What this means in practice: the standard advice to lubricate once a year, which you’ll find on generic national sites, is insufficient here. We recommend cutting that interval roughly in half. The sections below give exact task-by-task guidance.
Quarterly Lubrication: The San Jacinto Schedule
The single highest-impact maintenance task in our climate is lubrication. Dry heat simply eats lubricant, and a quarterly schedule prevents the dry-metal grinding that turns a $15 roller into a $300 service call. We tell our customers to set a phone reminder for the first weekend of January, April, July, and October. That cadence gets you lubricating before the summer heat and before the winter cold snaps, which are the two highest-stress periods for door components.
What to Lubricate
- Hinges: Every hinge on every panel. Apply a few drops of white lithium grease or a silicone spray at each pivot point.
- Rollers: The roller shafts where they enter the hinge. Do not lubricate the nylon wheel itself; it rides on a bearing that typically doesn’t need oil, and oiling the outside just attracts dust.
- Springs: If you have a torsion spring mounted on the header above the closed door, coat the entire coil length with a light spray lubricant. Do not use heavy grease; it traps grit. If you have extension springs on the sides, same approach.
- Track curves: The curved section where the vertical track meets the horizontal. A thin film of silicone helps rollers move smoothly, but wipe away any excess.
What Not to Lubricate
- The track itself: The flat surfaces of the track don’t need grease, and putting lube there just creates a sticky surface for dust to accumulate. Only the curve where rollers articulate benefits from a thin film.
- The belt or chain: On belt-drive openers, do not lubricate the belt. On chain-drive openers, a small amount of chain lubricant applied sparingly is fine, but most modern LiftMaster and Chamberlain units are sealed and don’t need it.
- The opener motor: Nothing inside the motor needs lubrication. If it’s making noise, that’s a component problem, not a lubrication problem.
We work on all eight major brands, and the lubrication points are the same across Chamberlain, Genie, LiftMaster, and Clopay systems. The brand difference is usually in the opener power train, not the door itself. If you’re unsure what type of springs you have or what to apply, our Garage Door Repair in San Jacinto service includes a full lubrication pass as part of standard tune-ups.
Post-Windstorm Dust and Debris Checks
When the Santa Anas blow through the San Gorgonio Pass, the dust doesn’t just land on your car. It settles into the bottom seal channel, works into the roller tracks, and coats the safety sensor lenses. We’ve walked into garages after a wind event and found sensors so coated with fine dust that the door refused to close, or a bottom seal with enough packed dirt in the channel that the door sat a quarter-inch off the ground. A post-windstorm check takes about 10 minutes and can prevent both of those failures.
After Any Significant Wind Event, Check These Points
- Bottom seal channel: Run your finger along the inside of the bottom seal where it meets the floor. Pull out any visible dirt or small debris. A clogged seal channel means the door doesn’t sit flush, which means heat, dust, and in the winter, cold air get into your garage.
- Safety sensor lenses: Wipe both lenses with a dry cloth. The sensors near the floor are in the exact path of dust that blows under the door gap.
- Vertical track interiors: Shine a flashlight down the vertical track on each side and look for dust accumulation or small pebbles that wind drove into the track.
- Top panel and header: Look for leaves, twigs, or debris that may have collected on the top section when the door was open, or blown into the header area.
- Weather stripping around the frame: Check that the side and top weatherstripping is still seated. High winds can unseat a loose strip, especially on older doors.
If you live in an area with open exposure, like homes backing up to the Bautista Creek wash or the open land east of Highway 79, you’ll want to do this check after every wind event of any significance. Homes more sheltered in the denser grid near downtown San Jacinto can stretch it to every other event, but the dust still finds its way in.
Spring Tension Checks Without Tools
Torsion springs, the kind mounted on a metal bar above the closed door, have a typical lifespan of 10,000 cycles. In a household that opens and closes the garage door four times a day, that’s about seven years. In San Jacinto’s heat, however, the metal fatigues faster, and we regularly replace springs that are five or six years old because the thermal expansion and contraction has accelerated micro-cracking in the steel. The good news is you don’t need any tools or special training to spot a spring in its last 60 to 90 days of life.
Visual and Functional Cues That Indicate Spring Failure Is Coming
- Rust is the easiest visual flag: Surface rust on the spring coils is not automatically a failure warning, but deep rust that looks like scaling or flaking means the metal has lost integrity.
- Gaps between coils: A torsion spring under proper tension should have coils that touch or nearly touch. If you see visible gaps opening up between coils, or coils that are splayed unevenly, the spring has started to deform and is on borrowed time.
- The imbalance test: Disconnect the opener using the red emergency release cord, then manually lift the door to roughly waist height and let go. A door that stays put is balanced. A door that drifts down one side or drops quickly means the spring is losing tension. This is a safe, simple test that takes less than a minute.
- Loud popping or clanking sounds when you open or close: That’s the spring binding and releasing as it rotates, a sign of metal fatigue.
- The door feels heavy when lifting manually: You’re doing more of the work than the spring is, which means the spring is failing or already broken.
Safety note: If you see any of these cues, do not attempt to adjust, replace, or apply any more tension to the spring yourself. Torsion springs hold significant tension, and a sudden release can cause severe injury. Our San Jacinto garage door repair service handles spring replacement with the proper winding bars and safety protocol. When a spring is visibly suspect, call rather than touch it.
Thermal Expansion: Panel Gaps and Alignment Drift
Steel panels expand measurably in heat. A 16-foot wide door on a 105°F afternoon is not the same width it is on a 40°F January morning. Single-panel steel doors expand and contract modestly, but multi-panel sectional doors are where the real issue shows up, because each panel moves slightly and the cumulative effect across five or six panels creates alignment drift. We see this most often on doors made from the heavier gauge steel in Clopay and Amarr products, which is a good thing for durability but means the expansion effects are more visible.
What Thermal Drift Looks Like
- Uneven gaps between panels: Stand outside your closed door and look at the horizontal seams. If one seam is noticeably wider on one side than the other, that’s panel drift.
- Gaps at the top corners: When the door is closed, check where the top panel meets the header on each side. An uneven gap, especially one that changes with the season, is thermal expansion at work.
- Scraping sounds in the afternoon: A door that moves smoothly in the morning but scrapes at 3 p.m. in July is exhibiting heat expansion. The track gap is set for one width, and the panel is temporarily wider.
- Loose hinge screws: Thermal cycling works screws loose over time. Hinges that feel loose to the touch are both a symptom of drift and a cause of it.
You should check for these signs twice a year: once in late spring, as the first serious heat arrives, and once in late fall, after the first cold snap. In our experience, the biggest drift happens in August and September, after months of sustained heat have had a chance to shift panels and loosen hardware. If the drift is under an eighth of an inch across the seam, it’s typically cosmetic and can be corrected with a slight realignment. If it’s larger, or if you hear repeated scraping when the door moves, that’s the point where we’d recommend a pro realignment before the scraping wears down the roller wheels. Our garage door installation team in San Jacinto sees this on both new and old doors and can reset track clearances to spec.
The 20-Minute Quarterly Walkthrough
Here’s the version you’ll actually do. This takes about 20 minutes, needs no tools beyond a flashlight and a rag, and covers the highest-failure-rate components in San Jacinto’s climate. Set it for the first week of January, April, July, and October.
- Visual spring check (2 minutes): Look at the torsion spring for gaps between coils, rust scaling, or any visible deformation. If you have extension springs, look at each one for stretching or rust at the attachment points.
- Balance test (1 minute): Pull the red release cord and lift the door to waist height. Let go. It should stay within a couple inches of where you released it. Reconnect the opener by running it through a full cycle.
- Lubrication (8 minutes): Apply lubricant to all hinges, roller shafts, and the spring coil. Wipe excess.
- Sensor check (2 minutes): Wipe both safety sensor lenses with a dry cloth. Give each one a gentle nudge to make sure the mounting bracket hasn’t loosened.
- Track and seal inspection (3 minutes): Run a flashlight down both vertical tracks looking for dust or debris. Check the bottom seal channel and remove any dirt. Look at the seal itself for cracks or flattening.
- Noise test (2 minutes): Close the door and stand inside. Listen for grinding, popping, or scraping. Then open it and listen again. Any new sound compared to last quarter is worth investigating.
- Hardware scan (2 minutes): Quick visual pass over all visible nuts, bolts, and hinge screws. Tighten anything that’s obviously loose with a socket or wrench. Don’t over-tighten; you’re looking for obviously backed-out fasteners, not re-torquing the entire door.
That’s it. Twenty minutes, four times a year, and you’ll catch most of what breaks before it strands you with a door that won’t open on the Tuesday morning you’re already late for work.
The Annual Deep Inspection (60 Minutes)
Once a year, usually in the early fall before the seasonal temperature swing, it’s worth setting aside a full hour for a deeper pass. This catches the slower-developing problems that quarterly walkthroughs miss: seal wear, roller wear, opener force settings, and more.
- Roller condition (10 minutes): Pull each roller out just far enough to inspect the wheel (you’ll need to loosen the hinge bolts on the roller track for this, or simply use a flashlight and mirror to inspect from below). Look for cracked nylon wheels, flat spots, or wobble. A wheel with visible play is reaching end of life. We see rollers fail predictably in our heat because the plastic anneals and becomes brittle.
- Bottom seal replacement check (5 minutes): The bottom seal is the first component that heat beats into submission. Look for cracks, brittleness, or tears, especially at the corners where the seal folds. If the seal is hard rather than pliable, it’s time to replace it. A cracked seal lets dust, heat, and pests into the garage.
- Track alignment verification (10 minutes): Measure the distance between the left and right tracks at three points: floor level, midpoint, and header. The measurements should be within a quarter-inch of each other. If they’re noticeably different, the tracks have drifted and should be realigned.
- Opener force test (5 minutes): Close the door on a 2×4 block of wood laid flat where the door meets the floor. The door should reverse when it contacts the block. If it doesn’t, the opener’s downforce is set too high, and that’s dangerous plus it wears out the door prematurely. On most LiftMaster, Chamberlain, and Genie units, you can adjust this with a screw on the motor housing, but if you’re unsure, call a pro. This is a safety check, not a DIY tuning exercise.
- Opener drive inspection (5 minutes): On a chain-drive opener, check for slack in the chain. On a belt-drive, look for fraying or wear at the edges. On either type, listen for rhythmic grinding that indicates a worn gear inside the unit. Opener problems often present as a door that seems fine but makes an odd sound right at the start or end of travel. Our garage door opener repair team in San Jacinto handles these drive-system issues across all brands.
- Cable inspection (5 minutes): The lift cables on each side of the door should be straight, not frayed, and the strands should lie flat. A cable with broken strands or a visible kink is a failure waiting to happen. Like springs, cables are under high tension and are not a DIY repair.
- Frame and weatherstripping (10 minutes): Check the full perimeter of the door. Look for gaps between the frame and the wall, missing screws in the track brackets, and weatherstripping that has pulled away. Re-seat or replace anything that’s loose.
- Test the full cycle twice (10 minutes): Open, close, open, close. Watch and listen carefully. Note any change from the last time you did this deep inspection, especially anything that repeats consistently. Write it down. If you ever do need to call a tech, that log is genuinely useful.
If any step reveals something you’re not comfortable addressing, that’s the right instinct. Garage doors have potentially dangerous tension points, and knowing where your own knowledge ends is part of responsible ownership. Osprey Garage Door Repair services cover everything from a basic tune-up to a full mechanical repair, and we’d rather you call us for a free estimate than take a chance on the wrong fix.
Common Mistakes to Avoid
- Using WD-40 as a garage door lubricant. WD-40 is a solvent, not a long-term lubricant, and it strips existing grease from components. Use white lithium grease or a silicone-based spray designed for garage doors.
- Waiting for a full failure before addressing spring issues. By the time a torsion spring snaps, the damage is done and the door is often jammed in the closed position. The visual and balance checks above can catch the warning signs a season early.
- Lubricating the track surface. Oiling the flat track sections attracts dust and creates a paste that actually increases roller friction. Only lubricate the curved transition section, and only lightly.
- Ignoring a noisy door. A garage door that develops a new squeak or grind is telling you something. Noise is the earliest warning sign of component wear and, in San Jacinto’s heat, the problem that causes the noise gets worse fast.
- Tightening the torsion spring hardware yourself. The springs, cables, and related hardware are the most dangerous components on any garage door system. Even a seemingly small adjustment can release stored tension suddenly. Leave that to a trained pro.
- Replacing the opener before diagnosing the door. When a door is slow, heavy, or inconsistent, the problem is often the door itself, not the opener. Replacing the opener without fixing the underlying door issue means you’ll be back in the same situation within a year.
When to Call a Professional
Some jobs are genuinely not DIY territory. If your spring shows any of the warning signs above, if your cables are frayed, or if your door has drifted so far out of alignment that it scrapes on every cycle, those are professional repairs. Not because you can’t do them, but because the risk-reward is simply wrong. Torsion springs under tension, cables under load, a door that’s 200-plus pounds of moving panels: one wrong move and you’re looking at a serious injury or a much more expensive repair than the one you started with. There’s also an efficiency argument: a specialist does in an hour what takes most homeowners a full Saturday. At Osprey Garage Door Repair, we’re in and out, and the fix is done right. That’s the entire value proposition. If you’re in San Jacinto and you’ve spotted something on this checklist that concerns you, contact us at (866) 883-7857 for a free estimate. We’ll tell you if it needs fixing now or if it can wait.
Frequently Asked Questions
Every three months. The low humidity and high summer heat in San Jacinto evaporate lubricant faster than in coastal climates, so the standard yearly recommendation doesn’t hold up here. Set a reminder for January, April, July, and October. Call (866) 883-7857 if you want a professional lubrication service done as part of a tune-up.
Look for visible gaps between coils on a torsion spring, rust scaling, or a door that drifts down when disconnected from the opener and released at waist height. Loud popping sounds during operation are also a red flag. If you see any of these signs, have a professional inspect the spring sooner rather than later.
Based on our service volume, it’s spring failure caused by accelerated metal fatigue from the valley’s heat cycling, followed closely by roller and hinge wear from dust contamination. Both are predictable with regular inspection and maintenance.
No, and we don’t recommend it under any circumstances. Torsion springs hold tremendous stored energy, and improper handling can cause severe injury. This is the one component on your garage door system that is strictly a professional repair.
Tune-up pricing varies based on what’s included and the condition of the door. Reputable companies will give you a specific quote before any work starts, so you know the exact price upfront. We do the same: call (866) 883-7857 for a free estimate and a clear number before any work begins.
We service all eight of the major brands: LiftMaster, Chamberlain, Genie, Clopay, Amarr, Wayne Dalton, Craftsman, and Raynor. Our opener repair work covers everything from legacy systems to modern smart openers, so we can troubleshoot the exact unit you already have.
The Bottom Line
Your garage door is the largest moving part in your home, and in San Jacinto it operates in a climate that works harder against it than almost anywhere else in Southern California. Dry heat, dust, and dramatic temperature swings all shorten the lifespan of springs, rollers, and seals. A quarterly 20-minute walkthrough and an annual hour-long inspection will catch the failures before they happen, and that’s the difference between a $20 tube of lubricant and a $300 spring replacement with an emergency service fee. If something on this checklist doesn’t look right, call a specialist.
Written by the team at Osprey Garage Door Repair, serving San Jacinto since 2011.
See the difference
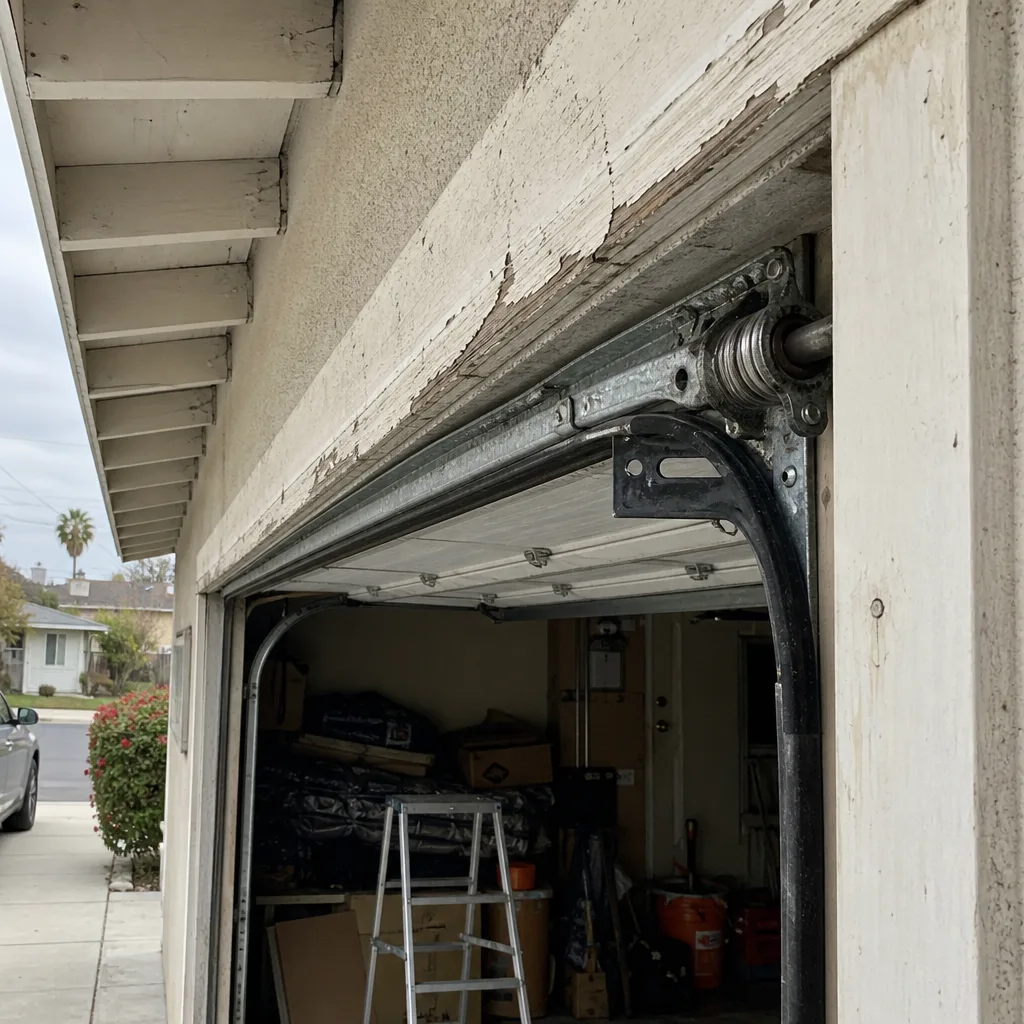 Before
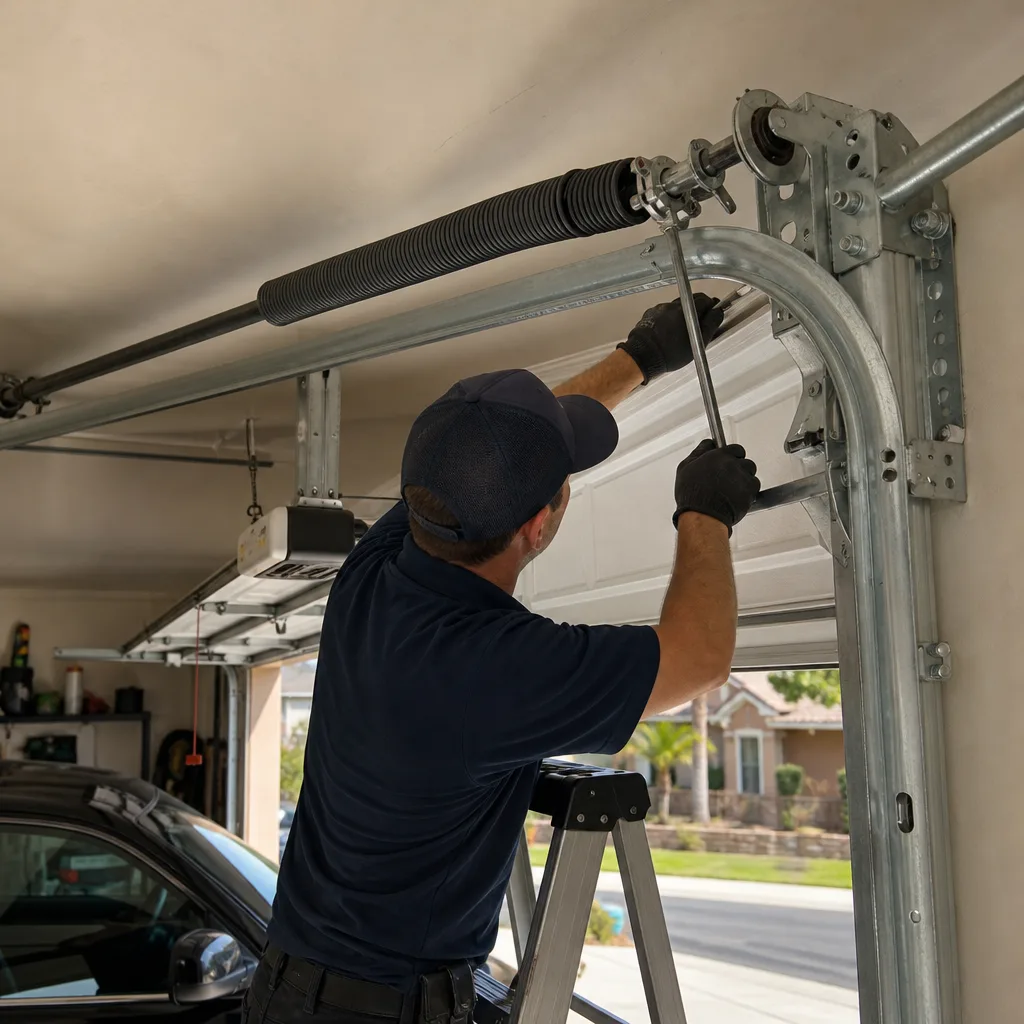 After
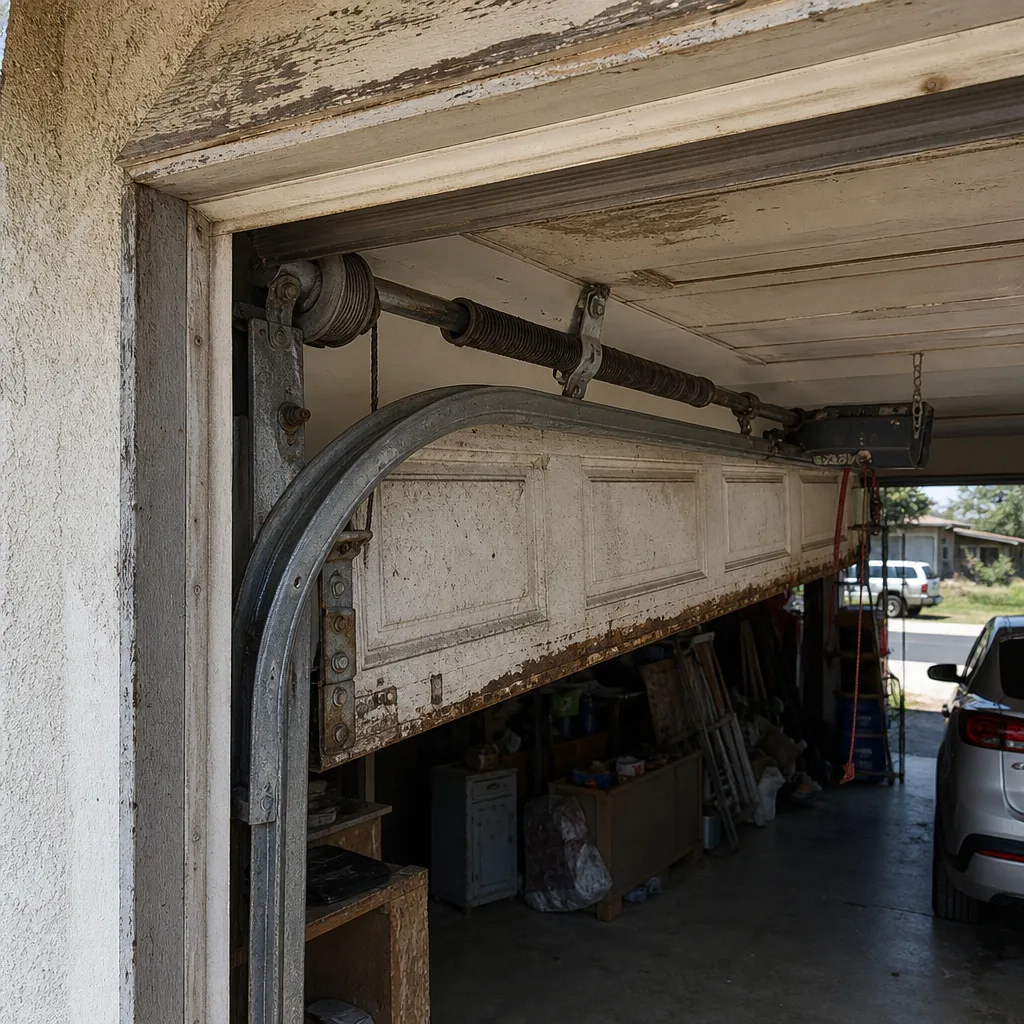 Before
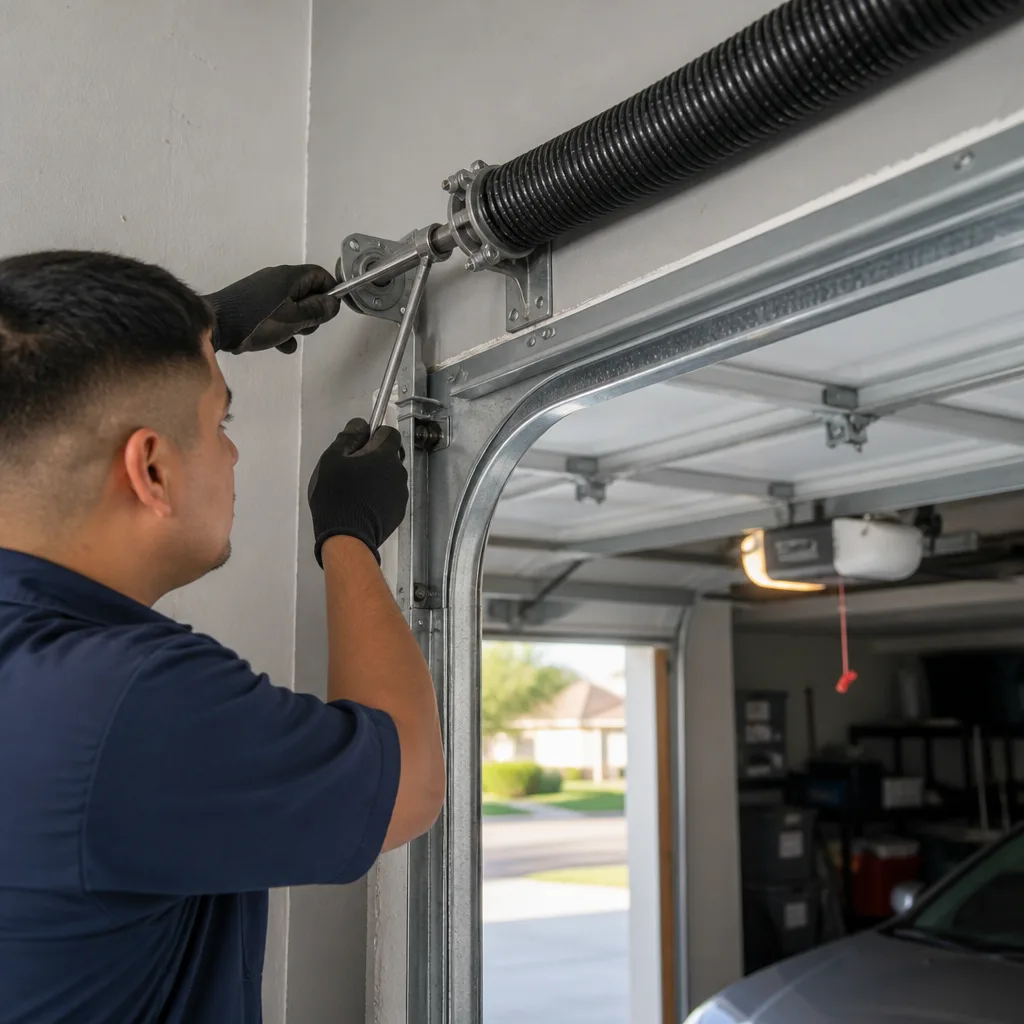 After
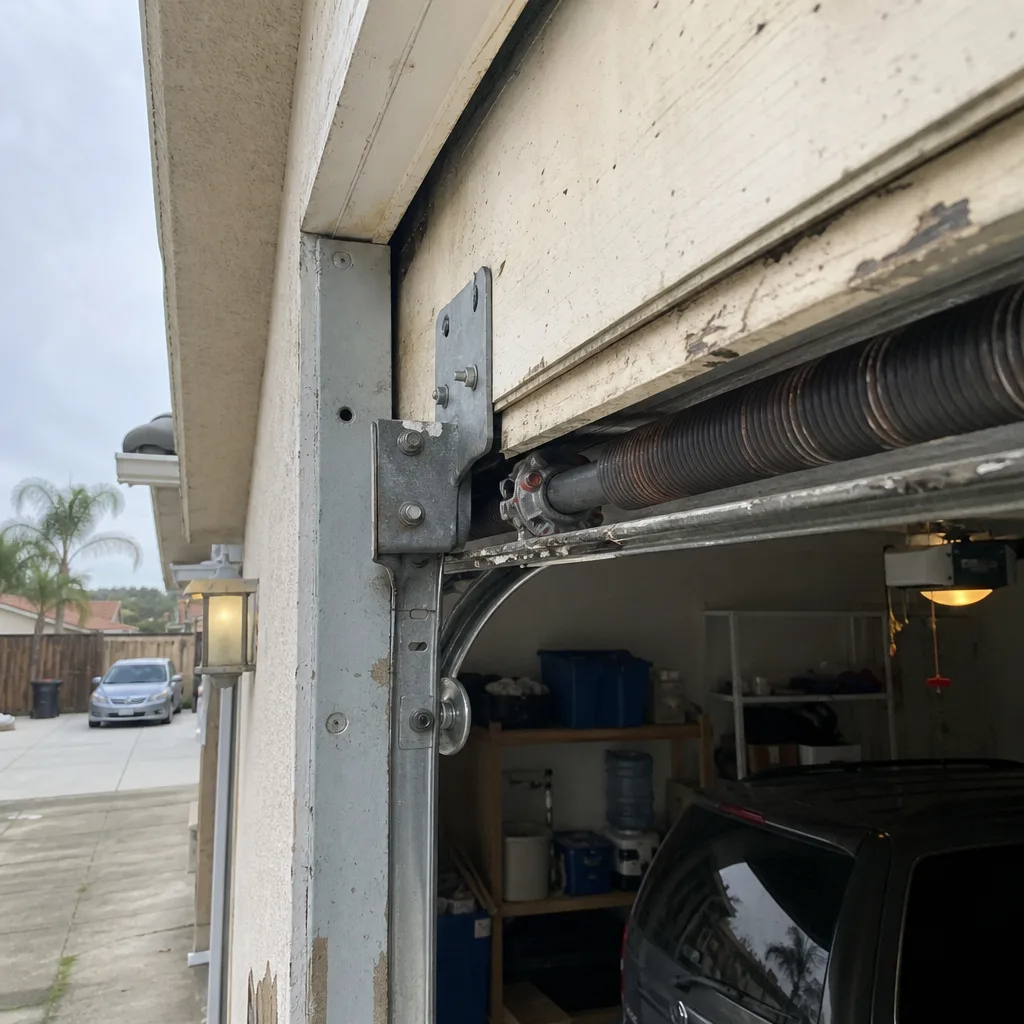 Before
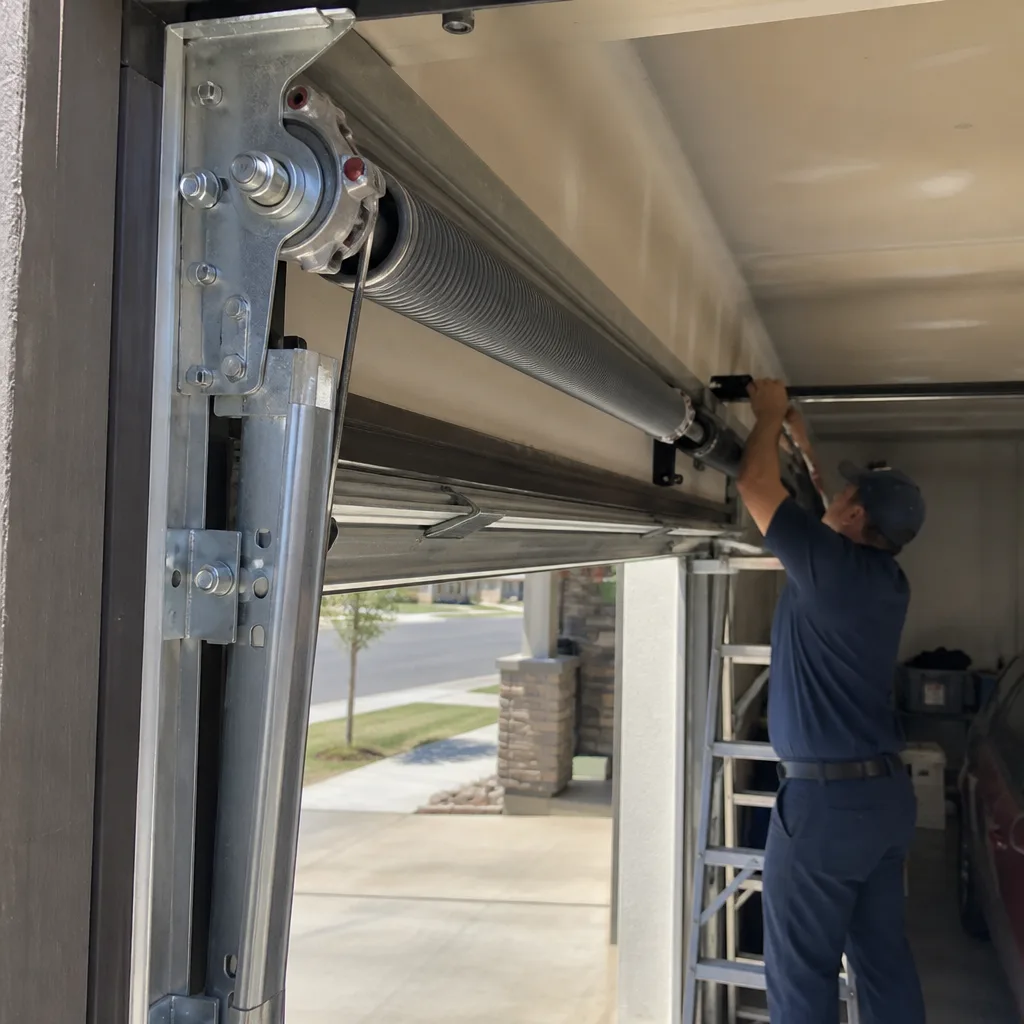 After