
Last updated November 2, 2026
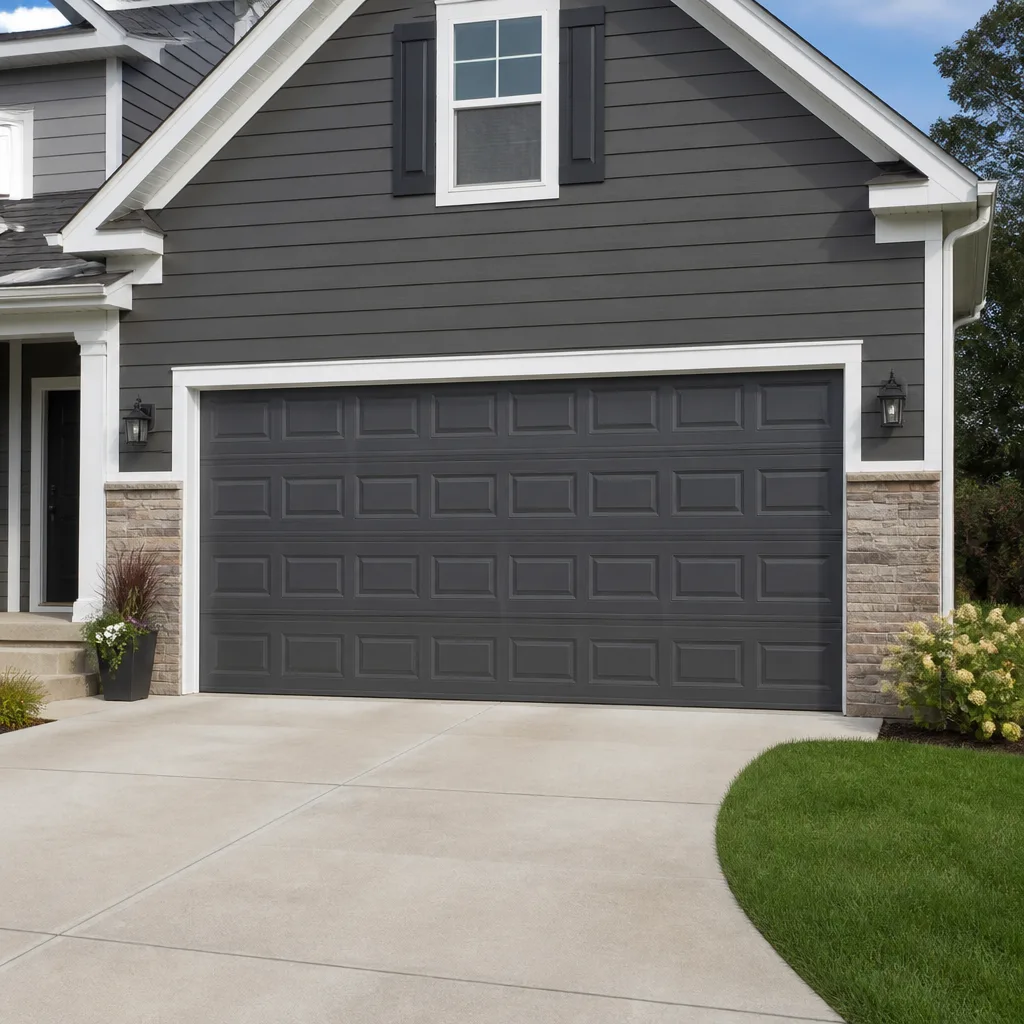 Raised-panel steel
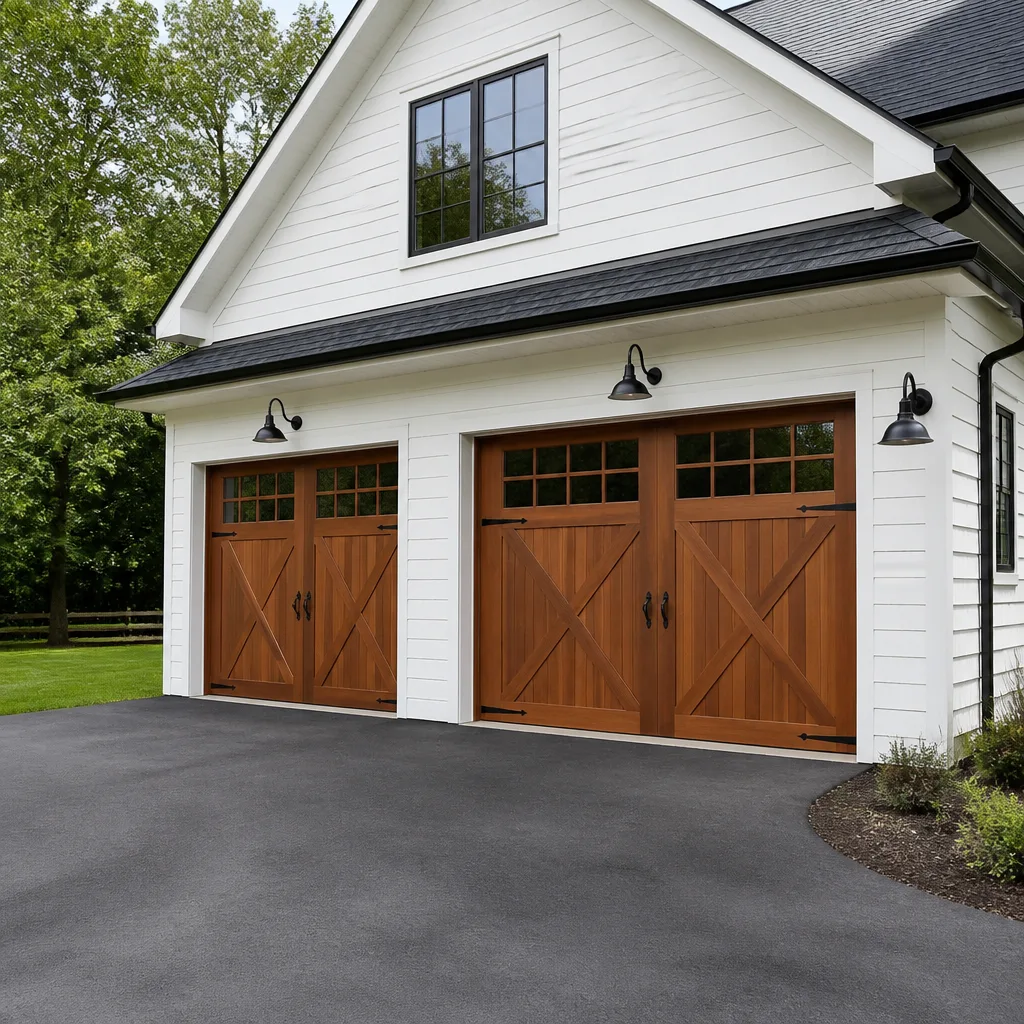 Carriage house
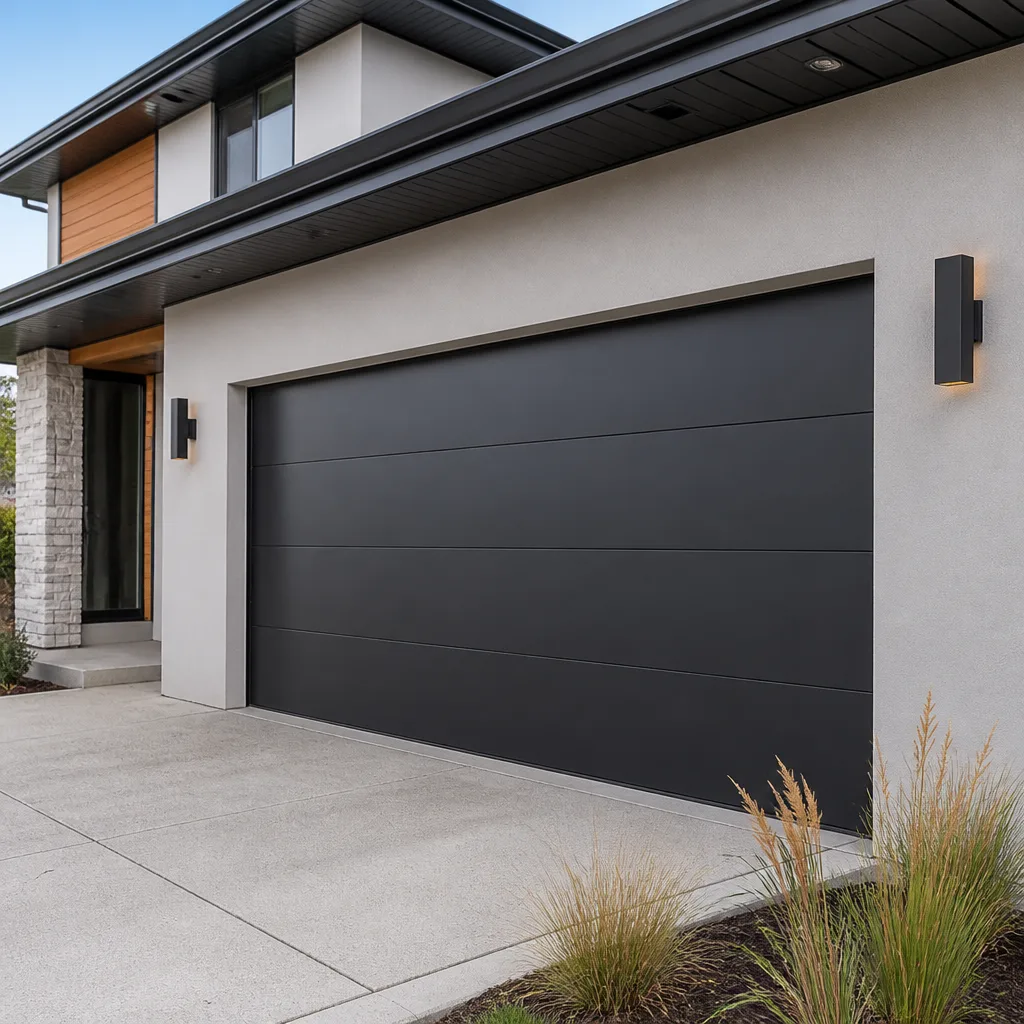 Modern flush
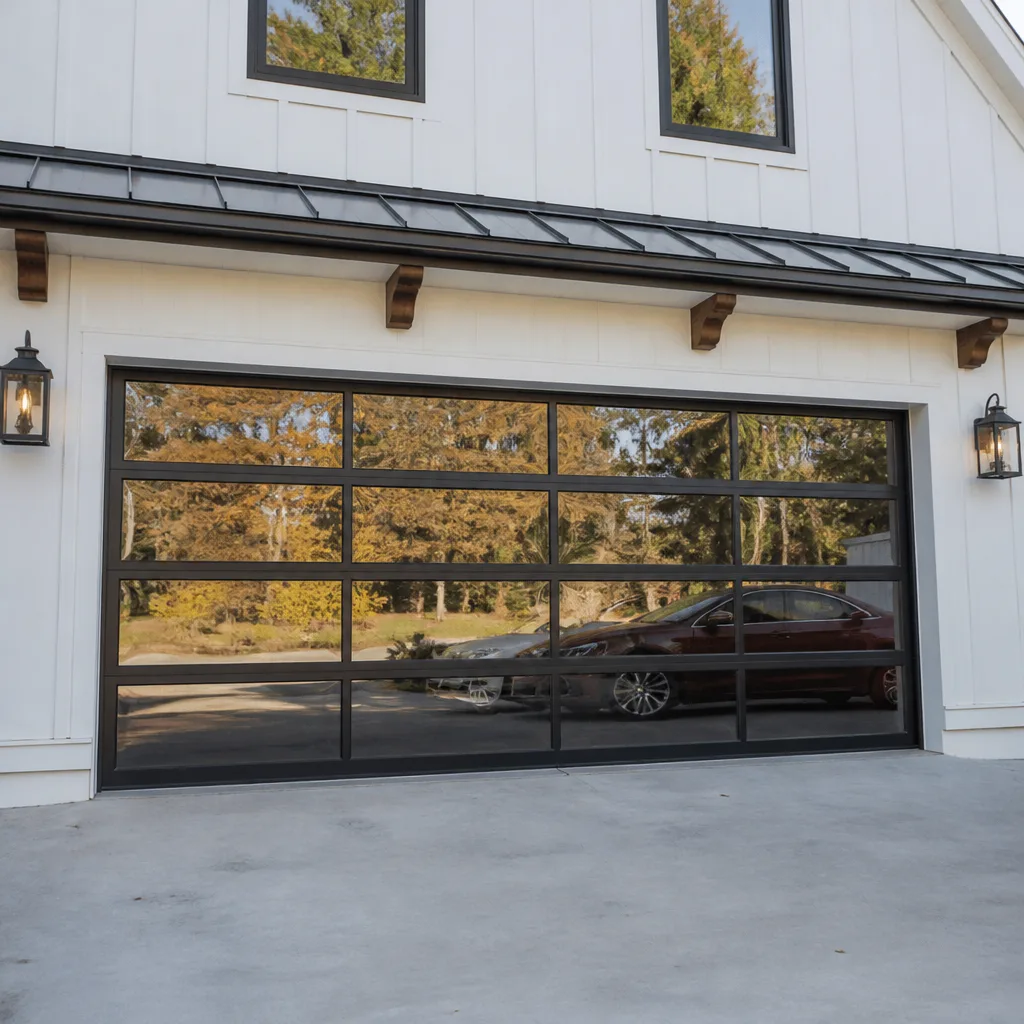 Full-view glass
 LiftMaster openers
 Chamberlain openers
Full 25-point door and opener safety check with every visit - springs, cables, rollers, tracks, and your LiftMaster or Chamberlain opener included
You get a price before we start. It does not change when the truck arrives.
Get your free estimateGarage Door Repair Troubleshooting: Common Problems and How to Fix Them
Here’s a number that surprises most San Jacinto homeowners: roughly 70% of garage door service calls we see involve a problem that was misdiagnosed at least once before we arrived. A homeowner replaced sensors when the spring tension was wrong. A neighbor swapped a remote when the logic board was failing. The door still didn’t work, and now they’ve paid twice. What separates a quick fix from a repeat repair isn’t luck. It’s reading the sequence of failure: what broke first, what it caused second, and what that chain tells you about the true root problem. This guide walks through the diagnostic method we use in the field, symptom by symptom, so you can identify your garage door problem accurately before spending a dollar on parts. For professional help, explore our Garage Door Repair services.
Quick Answer
Garage door troubleshooting starts with identifying the exact symptom: grinding points to rollers or bearings, reversing mid-close points to spring tension or force settings, and a dead door points to the opener or power source. Most problems fall into four categories: springs, rollers and tracks, the opener, and the door itself. The specific sequence of what happened first, and what happened after, tells you which part actually failed.
Styles & brands we work with
- Raised-panel steel
- Carriage house
- Modern flush
- Full-view glass
- LiftMaster openers
- Chamberlain openers
Table of Contents
- Reading the Sequence of Failure: Why Order Matters
- The Symptom-First Diagnostic Tree
- Opener Error Codes: LiftMaster, Chamberlain, and Genie, Decoded
- Spring Failure vs. Opener Failure: When Symptoms Overlap
- Track and Roller Issues: What Grinding and Squealing Actually Mean
- Safety Checkpoints Before You Adjust Anything
- The Most Common Misdiagnoses That Cost Homeowners Money
Reading the Sequence of Failure: Why Order Matters
Every garage door failure tells a story, and the order of events is the plot. Let’s use a real scenario we’ve walked through with homeowners in San Jacinto many times. A door starts making a grinding noise for a week. Then it starts reversing halfway down. Then the opener won’t respond at all. Most people jump to the last symptom, the unresponsive opener, and replace it. But the sequence reveals what actually happened: a failing roller bearing created extra resistance. That resistance forced the opener to work harder, which tripped its force sensors, causing the mid-close reversal. The opener eventually overheated and shut down. The fix was a $30 set of rollers, not a $400 opener.
Here’s the diagnostic principle in one line: what breaks first is rarely the first thing you notice. You notice the loudest symptom, the most dramatic symptom, or the symptom that stops you from using the door. The actual root cause is almost always earlier in the chain. When you call Osprey Garage Door Repair for a diagnosis, the first thing our technicians ask is not “what’s wrong with the door.” It’s “what happened first, and what happened next?” The answer usually shortens the repair time considerably.
For San Jacinto homeowners specifically, sequence matters even more because of the local climate. Summer heat in the San Jacinto Valley causes metal parts to expand and contract daily. Components that are marginally worn fail in sequence during heat waves, not all at once. A tension spring that’s been losing strength for months will finally give out on the hottest afternoon of July, often after weeks of subtle warning signs: the door felt heavier, the opener sounded strained, the door stopped a few inches short of the floor. If you notice these early signals, you can avoid the dramatic failure that follows.
The Symptom-First Diagnostic Tree
Here’s the method we use to match what your door is doing to the component that’s actually at fault. Work through these symptoms in order. The first one that matches your situation is your starting point for diagnosis.
Symptom 1: The door grinds, squeals, or makes a metal-on-metal sound when moving.
This points to the rollers, hinges, or bearings in the track system. Rollers wear out after 5-7 years of regular use in San Jacinto’s dusty climate. Nylon rollers degrade into a hard plastic that grinds against the metal track. Steel ball-bearing rollers, if not lubricated, sound like a fork scraping a plate. If the noise is coming from the top of the door near the opener rail, it’s likely the trolley or the drive gear. If it’s coming from the sides, it’s the rollers. If it’s coming from the hinges between door panels, those need replacement or tightening.
Symptom 2: The door reverses before it hits the ground, or stops halfway down.
This is the classic mid-close reversal, and it’s the most commonly misdiagnosed symptom in the book. Here’s the sequence to check, in order:
- Check the photo eyes at the bottom of the track. Are they lit? Are they aligned? A blinking light on one sensor means alignment is off. Wipe the lens with a dry cloth. San Jacinto’s dusty air and morning dew can coat sensor lenses with enough film to break the beam.
- Check the force setting on the opener. If the door hits resistance on the way down, the opener reverses to prevent damage. The resistance might be a warped track, a sticky roller, or a section of the door that’s binding.
- Check the spring tension. This is the step most homeowners skip. If the springs are too tight or too loose, the door doesn’t balance correctly. The opener’s force sensor interprets that imbalance as an obstruction and reverses. Replacing sensors won’t fix this, no matter how new the sensors are.
- Check the door balance manually. Pull the emergency release cord (with the door closed) and lift the door by hand. It should stay in place about 3-4 feet off the ground without help. If it falls, the springs are under too little tension. If it shoots up, they’re over-tensioned.
Symptom 3: The door sags to one side, or one side sits lower than the other when closed.
This points to cable problems or an uneven spring system. Most residential doors have two extension springs or a torsion spring system with two cables. When one cable wears, the load shifts, and the door pulls to one side. A sagging door also puts uneven pressure on the rollers and tracks, which accelerates wear everywhere else. Don’t use the door until this is fixed. The imbalance can cause a cable to snap, and a snapped cable on a door under tension is dangerous.
Symptom 4: The door opens a few inches and stops, or won’t move at all but the opener motor runs.
This is a broken spring in most cases. The opener motor is trying to lift the full weight of the door, which it’s not designed to do. A torsion spring that snaps produces a loud bang that sounds like a gunshot. An extension spring failure can be quieter. Either way, the door will not move, and you should not try to force it. The garage door repair specialists in San Jacinto see spring failures as the single most common call, especially after the first cold snap of fall when the metal contracts.
Symptom 5: The opener responds to the wall button but not the remote, or vice versa.
If the wall button works but the remote doesn’t, the problem is the remote, the remote battery, or the opener’s receiver. If the remote works but the wall button doesn’t, the wall button or its wiring is faulty. If neither works, check the breaker, the GFCI outlet the opener is plugged into, and the opener’s internal fuse. Genie openers often have a small glass fuse near the power cord that blows during power surges. San Jacinto’s occasional electrical storms can cause exactly this.
Symptom 6: The door is slow to open or close but eventually completes the cycle.
Slow operation usually means one of three things: worn rollers, a dry track and hinges that need lubrication, or a motor that’s losing power due to age or heat. Check the simple things first: clean and lubricate the rollers, hinges, and track with a silicone-based lubricant (not WD-40, which attracts dirt). If the door is still slow, the opener’s motor may be near the end of its life, or the springs may not be providing enough lift assistance.
Opener Error Codes: LiftMaster, Chamberlain, and Genie, Decoded
Modern openers tell you what’s wrong. You just need to know what they’re saying. Here are the most common error codes from the three top brands we service most often for garage door opener repair in San Jacinto.
LiftMaster (and most Chamberlain models, which share the same parent company):
- One flash per second, then pause, repeated: The opener is in “wireless programming” mode or has a receiver issue. If you didn’t just program a remote, check for a stuck button on a wall console or remote.
- Two flashes: The door won’t close. Photo eyes are misaligned or blocked. Clear the path, clean the lenses, and realign until both sensor lights are solid.
- Three flashes: The door won’t open or close fully. This usually indicates a force sensor trip: the door hit something or the sensitivity is set too low.
- Four flashes: The door won’t close and the sensors are not the issue. This is often the RPM sensor detecting that the motor is straining, which points to spring or balance problems.
- Five flashes: Overheating. The motor has a thermal cutout. Let it cool for 20-30 minutes, then check the door balance and track for binding. San Jacinto garage temperatures in summer regularly exceed 120°F, which makes this code common in August.
- Six flashes: The door reversal system has been triggered repeatedly. The opener is sensing too much resistance. Check spring tension and door balance.
Chamberlain (specific models differ slightly, but these are the core patterns):
- Ten flashes: Door won’t close due to sensor obstruction. Same fix as LiftMaster’s two-flash: check alignment, clean lenses, clear path.
- Eleven flashes: The door won’t close and the problem is NOT the sensors. The opener’s force sensor is tripping due to a balance issue or track binding.
- One long flash: The opener has detected a problem with the RPM sensor or motor circuit. This often requires a professional.
Genie (Intellicode and Smart series openers use LED blinks found on the motor head or wall console):
- One blink, then three blinks: The door won’t close. Photo eyes are misaligned or dirty.
- Two blinks: The door reverses while closing. This is the force sensor tripping, usually due to an obstruction or a door that’s binding on one side.
- Three blinks: The opener won’t run at all. Check the power source, fuse, and the opener’s internal circuit board. Genie openers with physical fuses often blow them after a power surge.
- Four blinks: The door won’t open. The motor RPM sensor has detected a problem. This can mean a broken spring is forcing the motor to work harder than designed.
Here’s the thing about error codes: they tell you what the opener’s sensors detected, not always what’s actually wrong. A four-flash code on a LiftMaster might mean a broken spring. A three-flash code might mean a misaligned track. The code is a starting point, not a diagnosis. In our experience, about a third of the opener replacements we see in San Jacinto were unnecessary: the opener was flashing an error code that pointed to the door, not the opener itself. The opener gets blamed because it’s the thing that beeps.
Spring Failure vs. Opener Failure: When Symptoms Overlap
This is the diagnostic fork in the road that separates a correct repair from a repeat one. Both spring failure and opener failure can present as “the door won’t open.” Here’s how to distinguish them.
Test 1: The manual lift test. Pull the emergency release cord with the door fully closed. This disconnects the opener from the door. Now try to lift the door by hand. If the door feels like it weighs 150-400 pounds and won’t budge, the springs are broken. The opener is not the problem. If the door lifts easily and stays in place at waist height, the springs are fine and the opener is the likely culprit.
Test 2: The sound test. When you press the opener button and the motor runs but the door doesn’t move, listen carefully. A broken spring makes a loud bang when it fails, then silence: the door simply won’t move because the opener can’t lift the weight. An opener with a stripped gear makes a grinding, ratcheting sound: the motor spins but the drive gear teeth are shredded. These are two very different sounds.
Test 3: The visual spring inspection. Look at the torsion spring above the door (the thick coil on a metal bar). If there’s a visible gap in the coil, where the spring has separated into two pieces, the spring is broken. If the spring looks intact but the door won’t move, the problem may be the opener, the cables, or a track obstruction.
The overlap exists because a weak spring forces the opener to work harder. An opener that works harder runs hotter. An opener that runs hotter has a shorter lifespan. So a spring problem left unaddressed for months eventually becomes a spring problem and an opener problem. In San Jacinto, where the summer heat already stresses both components, the cascading failure happens faster than in cooler climates. The lesson: if your door feels heavy, don’t wait. A spring adjustment today is cheaper than a spring replacement and an opener replacement next year.
Track and Roller Issues: What Grinding and Squealing Actually Mean
Grinding and squealing are the two most common noises a garage door makes, and they point to different problems. A squeal is high-pitched and rhythmic, often increasing in pitch as the door moves. It’s almost always dry metal or worn nylon: the rollers need lubrication, or the hinges are dry, or the track is no longer smooth and lubricated. A grind is rougher, lower-pitched, and sounds like metal dragging on metal. That’s a structural problem: worn roller bearings, a bent track, or a roller that’s seized and dragging instead of rolling.
Here’s the lubrication routine we recommend for San Jacinto homes, where the dry, dusty air dries out moving parts faster than coastal climates:
- Close the door and pull the emergency release so you can move the door manually.
- Apply a small amount of silicone-based lubricant to each roller bearing. Don’t soak the roller: you’re lubricating the bearing, not the wheel surface that rides in the track.
- Apply lubricant to each hinge pivot point, where the hinge pin meets the hinge leaves.
- Apply a thin coat to the torsion spring above the door. The spring coils rub against each other as the door moves, and dry coils squeak.
- Wipe the inside of the vertical tracks with a dry cloth to remove dust and debris. Do NOT lubricate the inside of the track. The rollers need friction to roll; lubricating the track makes them slide, which causes flat spots and a rough ride.
If the grinding persists after lubrication, the problem is mechanical, not lubrication-related. A bent track, a misaligned track section, or a roller with a destroyed bearing requires physical repair, not a spray can. Continuing to operate a door with a seized roller will eventually damage the track, which turns a $15 roller replacement into a $200 track replacement. For garage door installation in San Jacinto, we always install new rollers and hardware with the door: reused rollers on a new door is a false economy.
Safety Checkpoints Before You Adjust Anything
Before you touch anything on your garage door, run through these checkpoints. They exist for a reason: garage doors are the heaviest moving object in most homes, and the springs are under enough tension to cause serious injury if released incorrectly.
- Check the emergency release works. Pull the red cord and confirm the door releases from the trolley. Reconnect it firmly when done. This is the single most important safety mechanism on the door, and you need to know it works before you do anything else.
- Test the auto-reverse safety feature. Place a 2×4 piece of wood flat on the floor in the center of the door opening. Close the door. It should reverse within two seconds of touching the wood. If it doesn’t, stop using the door immediately and call a professional. This is not a repair you can do yourself safely.
- Disconnect the opener when working on the door. Always pull the emergency release before doing any manual inspection. You don’t want the opener activating while your hands are inside the track.
- Never touch a torsion spring under tension. The torsion spring above the door holds the entire weight of the door. Adjusting or removing it requires specialized tools and training. In San Jacinto, every year, homeowners are injured trying to adjust torsion springs with improvised tools. A snapped spring releases its tension instantly, and the force is enough to shatter bone. Call a professional for any spring work.
- Never disconnect a cable under load. The cables on either side of the door are under the same tension as the springs. If a cable looks frayed or damaged, don’t touch it. Damaged cables can snap without warning.
- Check the door’s pinch points. The sections of the door that fold at the hinges create pinch points between panels. Keep hands away from panel joints while the door is moving. Modern doors have finger-protection designs, but older doors often don’t.
The rule we use at Osprey Garage Door Repair is simple: if the problem involves springs, cables, or the track brackets mounted to the wall, that’s professional territory. These components are under mechanical tension, and the failure mode is sudden and violent. What you can safely do at home is lubrication, sensor cleaning and alignment, remote battery replacement, and manual testing (with the opener disconnected). Everything else is a call to (866) 883-7857.
The Most Common Misdiagnoses That Cost Homeowners Money
Here’s the expensive pattern we see repeatedly in San Jacinto: a homeowner diagnoses the problem wrong, buys the wrong part, installs it, and the problem persists. Now they’ve spent money on a part they didn’t need and still have the original problem. Here are the most frequent misdiagnoses and how to avoid them.
- Replacing sensors when the spring tension is the problem. The opener reverses because the force sensor trips, not because the photo eyes are blocked. New sensors won’t fix a door that’s unbalanced. Before buying sensors, run the manual lift test to check spring balance.
- Replacing the opener when the door needs repair. An opener that flashes an error code, runs briefly then stops, or overheats is often responding to a door that’s too heavy or a track that’s binding. Replacing the opener without fixing the door means the new opener will fail the same way.
- Buying a new spring when the cable is broken. A cable snap and a spring snap can feel similar: loud bang, door won’t move. But a broken cable on one side pulls the door to that side, while a broken spring leaves the door centered but immovable. Look before you buy.
- Replacing the remote when the opener’s receiver is bad. If the wall button works but neither remote works, even after new batteries and reprogramming, the opener’s receiver module has failed. A new remote won’t help.
- Lubricating a bent track. If the door grinds in the same spot every time, that’s a dent or bend in the track at that point, not a lubrication problem. Lube won’t fix a physical obstruction.
- Adjusting the force setting to fix a reversing door. Crank up the opener’s force setting, and the door may close despite resistance. But the resistance is still there: a sticky roller, a misaligned track, a spring under wrong tension. Increasing the force setting masks the problem instead of fixing it, and eventually the extra strain destroys the opener’s drive gear.
Each of these misdiagnoses costs between $50 and $400 in unnecessary parts, plus the labor time spent installing them. The pattern is always the same: symptom matched to the most obvious cause, instead of the actual cause. The sequence of failure, if read correctly, points to the real culprit.
Common Mistakes to Avoid
- Ignoring small noises for weeks. A squeak that goes away when the door is warm is still a problem: it’s a dry bearing or hinge that will eventually seize. Lubricating a squeaky door takes five minutes and costs under $10. Replacing a seized roller and damaged track costs $200 or more.
- Using WD-40 on the rollers or track. WD-40 is a solvent, not a lubricant. It strips away the existing lubrication and leaves a thin film that attracts dust and dirt. Use a silicone-based lubricant made for garage doors.
- Testing a spring by touching it. The tension in a torsion spring is invisible. The spring may look fine while holding enough force to break a hand. The manual lift test tells you everything you need to know without touching the spring.
- Running the opener when the door is disconnected. After pulling the emergency release, always reconnect before pressing the opener button. An opener that runs with the door disconnected can damage the travel limits and require reprogramming.
- Skipping the annual balance check. Most San Jacinto homeowners go years without checking their door balance. A door that’s slightly out of balance wears every other component faster. An annual manual lift test and visual inspection catches problems before they compound.
- Replacing one spring when both are the same age. Torsion springs have a lifespan measured in cycles, not years. If one spring has snapped, its twin has gone through the same number of cycles and will fail soon. Replacing both at once costs more upfront but less than two separate service calls.
- Assuming the door is fine because it’s new. New doors are not immune to installation errors. A door installed with incorrect spring tension, misaligned tracks, or loose hardware will fail early. After any new installation, run the manual lift test and check the door balance yourself.
See the difference
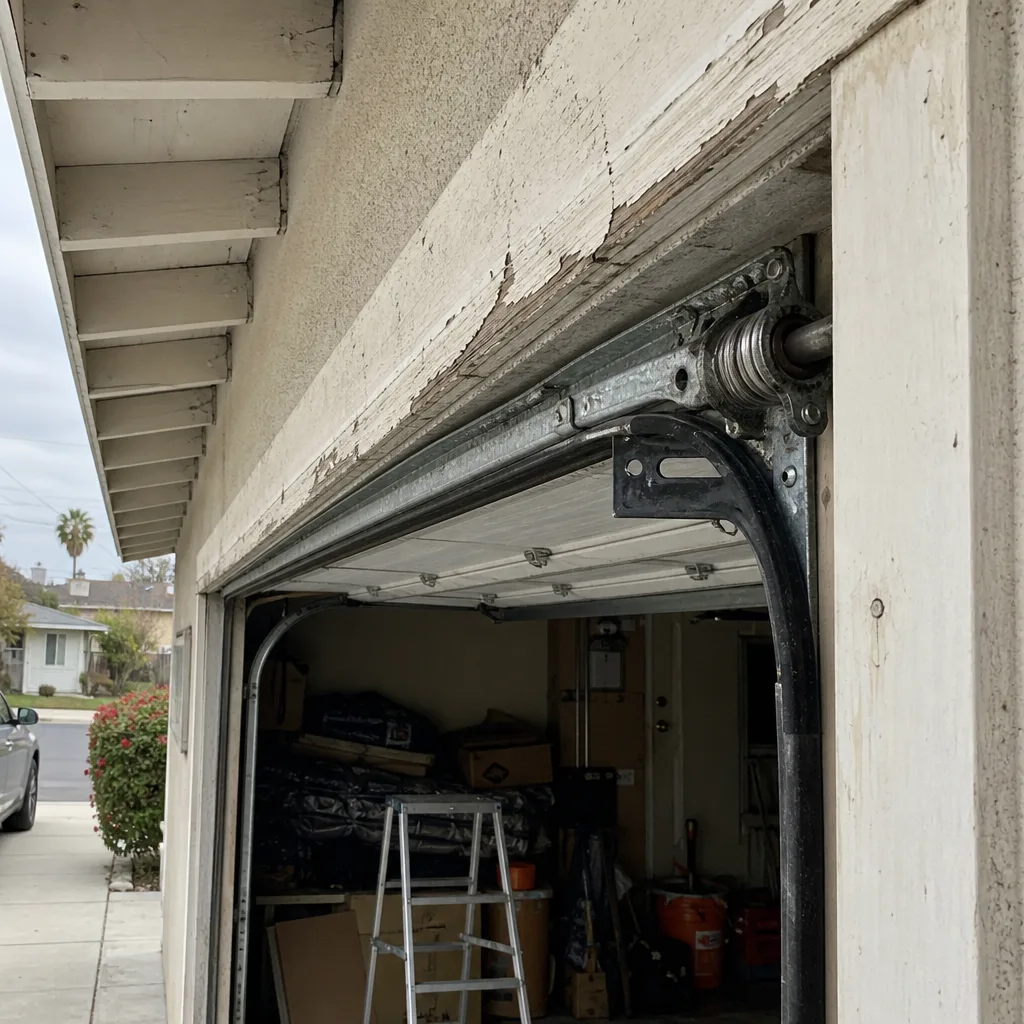 Before
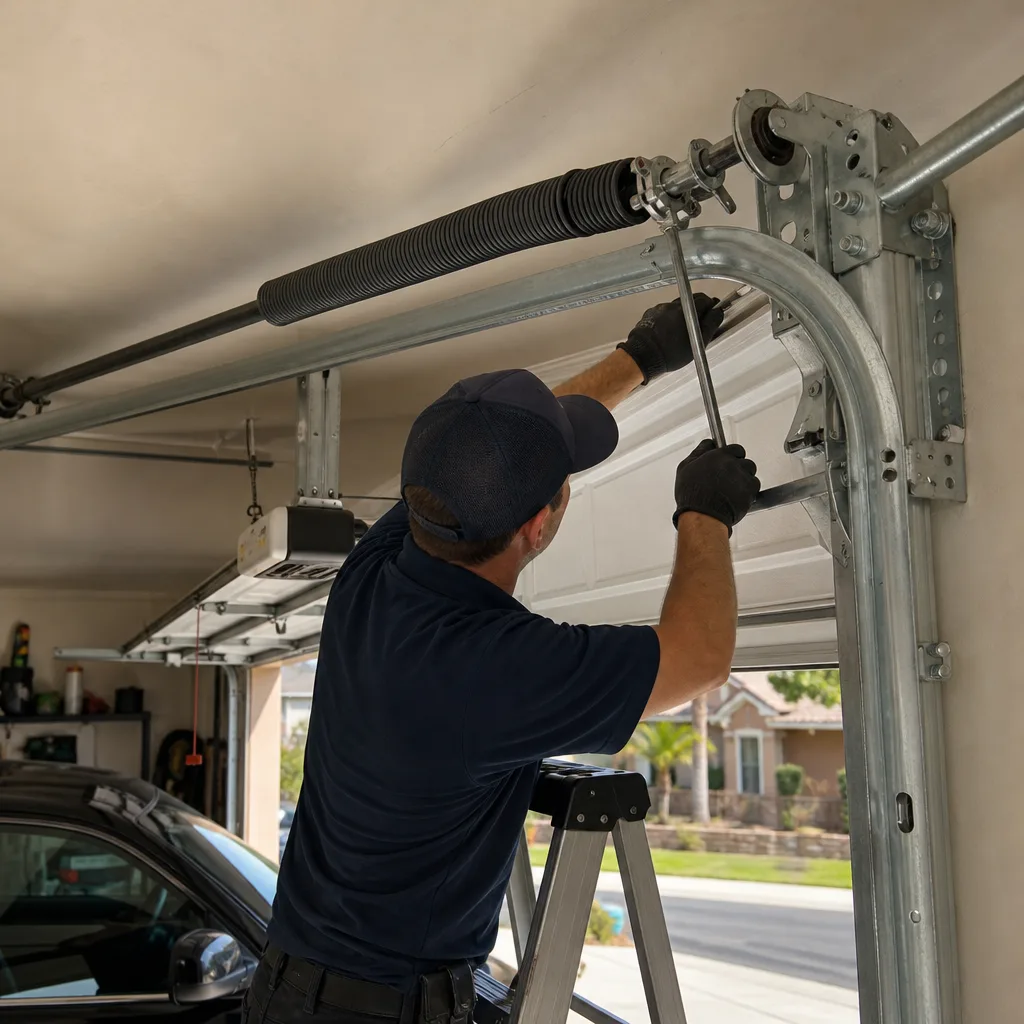 After
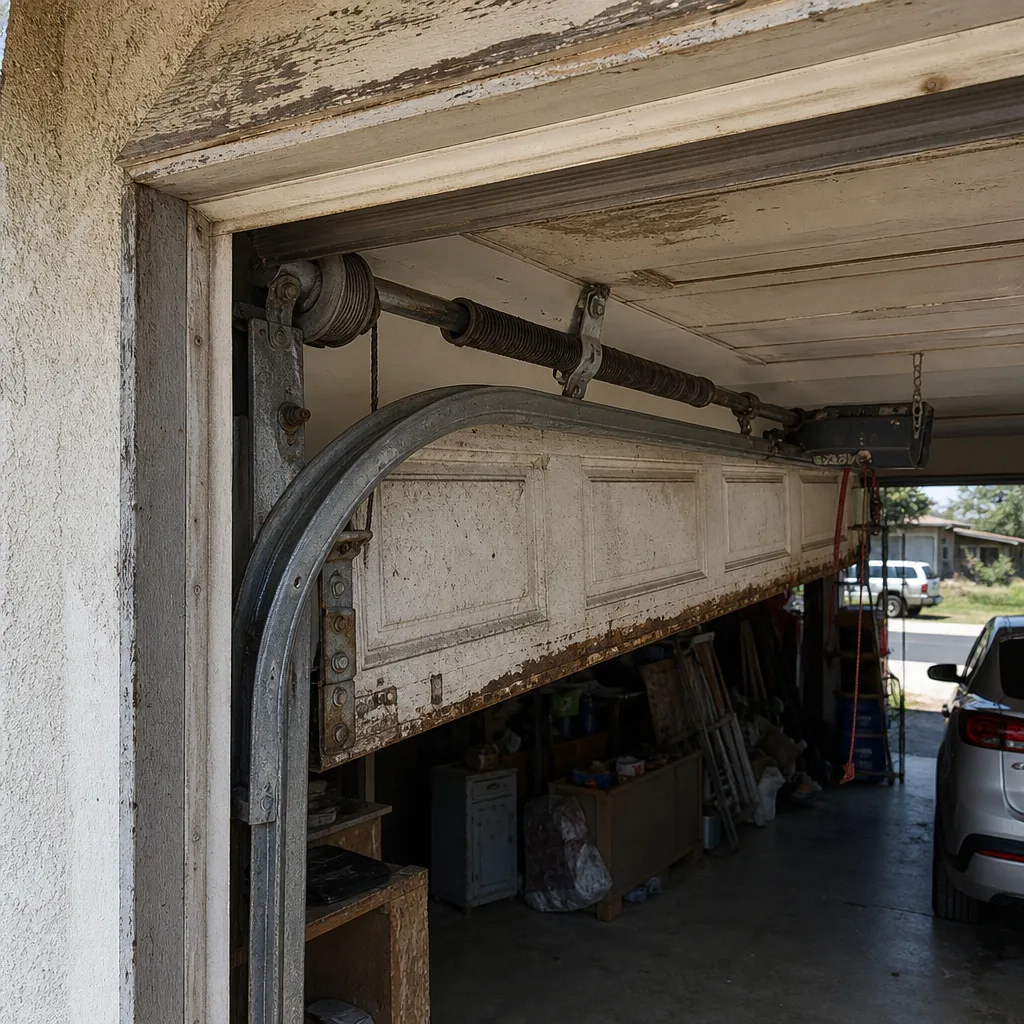 Before
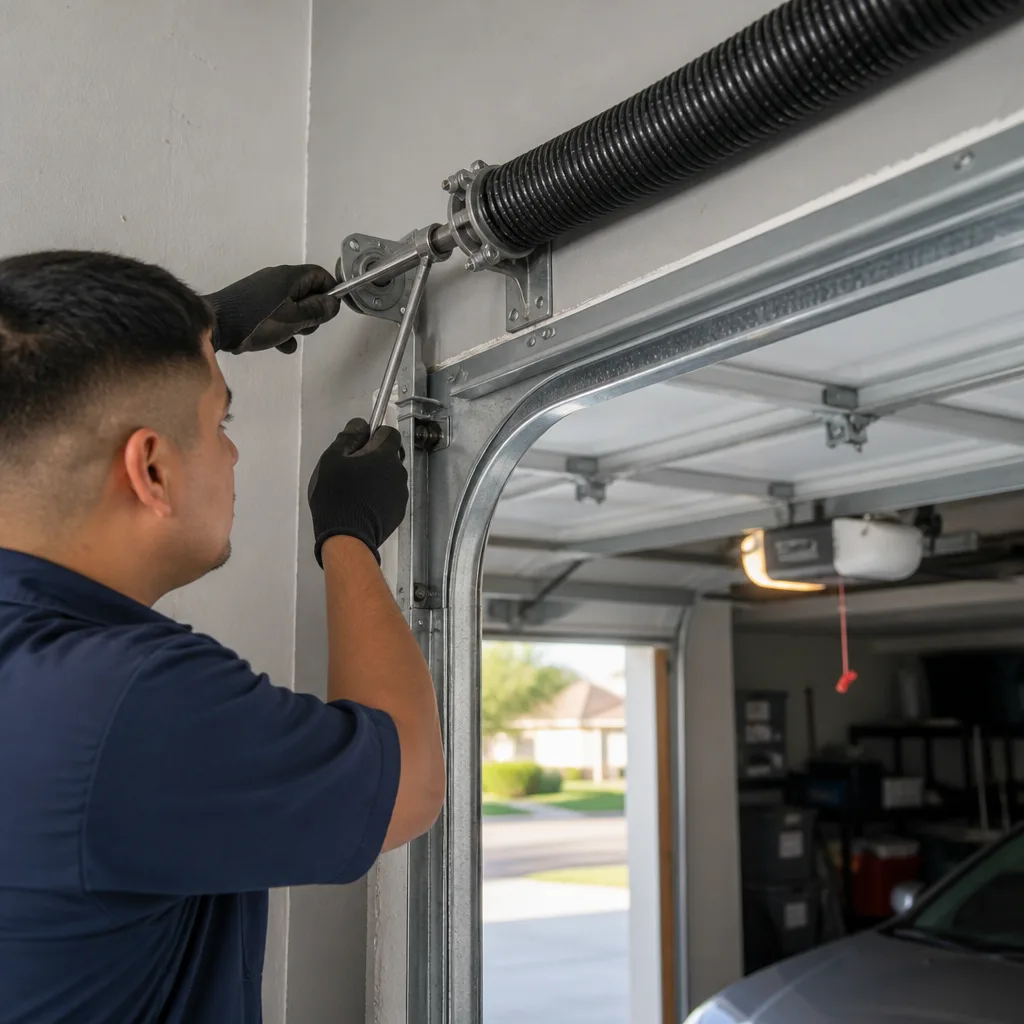 After
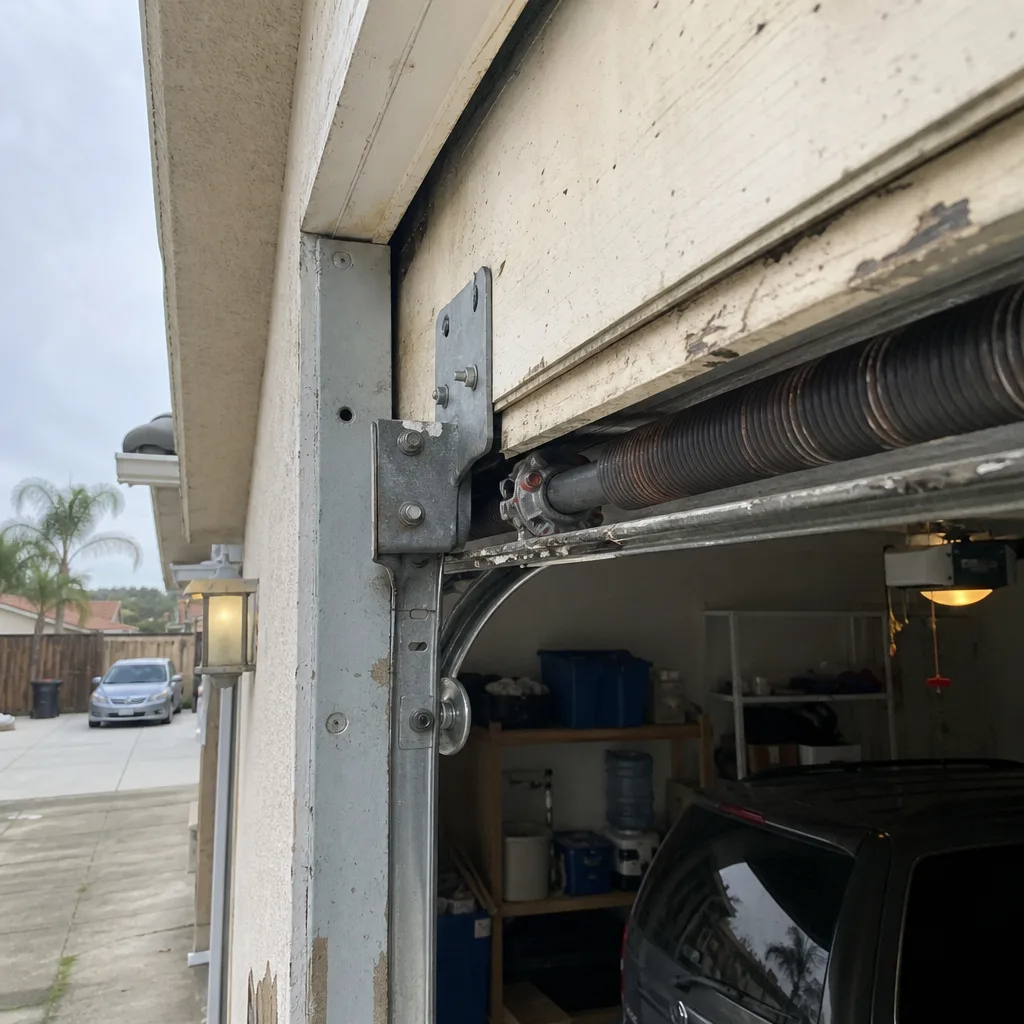 Before
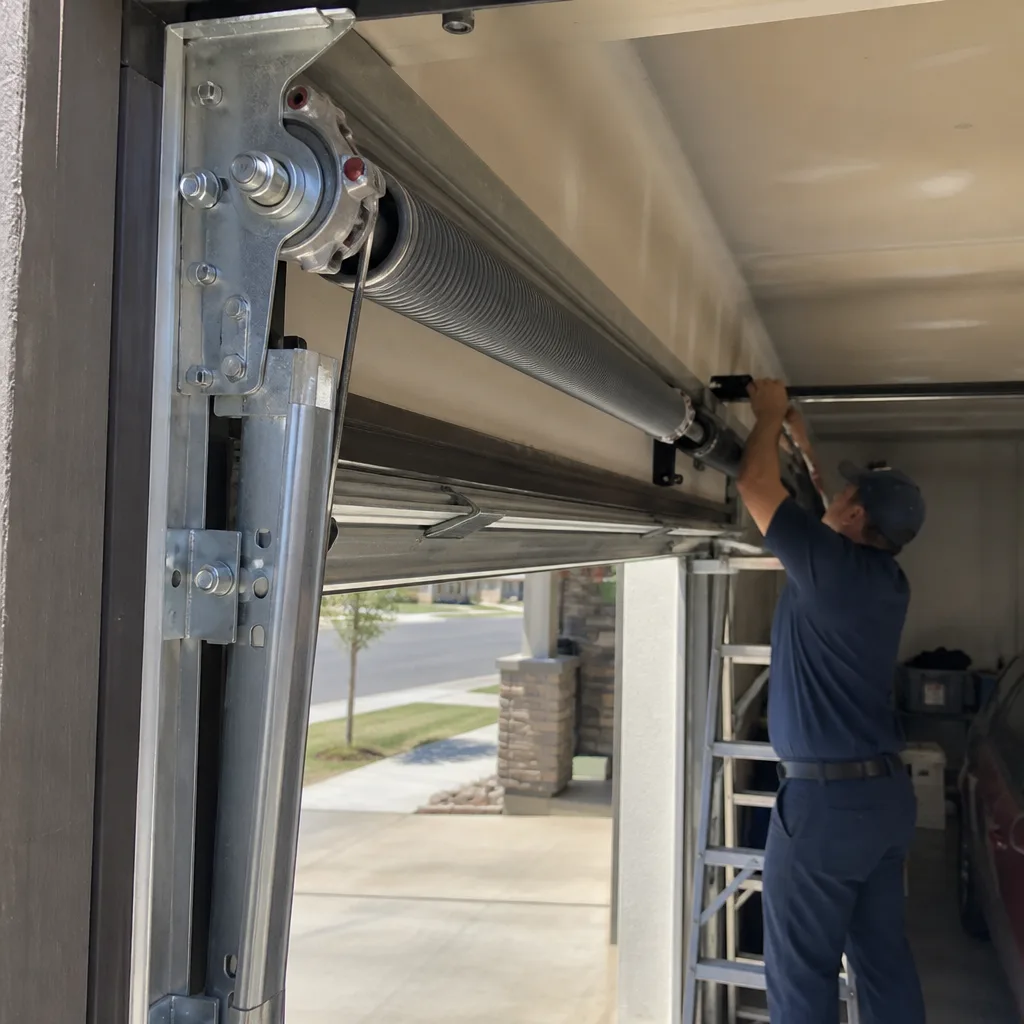 After
When to Call a Professional
Some problems are safe to tackle at home: cleaning sensors, replacing remote batteries, lubricating moving parts. Some are not. Call a professional if you have a snapped torsion spring, a frayed or broken cable, a bent track, a door that’s fallen off its track, or any problem where the door won’t stay in place when lifted manually. Also call if you’ve tried the diagnostic steps here and the problem persists: the sequence of failure may point to something less obvious, like a door panel that’s warping or a header bracket that’s pulling away from the wall. Not sure who to trust? Read How to Hire a Garage Door Contractor in San Jacinto: A Step-by-Step Guide. Osprey Garage Door Repair offers free estimates in San Jacinto. Call (866) 883-7857 and we’ll diagnose the problem accurately before any work begins.
Frequently Asked Questions
A garage door that reverses mid-close is usually tripping the opener’s force sensor, which means the door is hitting unexpected resistance: a binding roller, a misaligned track, or incorrect spring tension. Photo eye misalignment is a secondary cause. Check the manual door balance first before buying new sensors.
Pull the emergency release with the door closed and try to lift the door by hand. If the door feels extremely heavy and won’t lift, the spring is broken. You can also look at the torsion spring above the door: a visible gap in the coil means the spring has snapped. Call a professional for spring replacement: never attempt it yourself.
A loud garage door is usually dry or worn rollers, hinges, and bearings. Lubricate with a silicone-based lubricant and test again. If the noise persists, a roller bearing is likely seized and needs replacement. A grinding noise in the same spot every cycle points to a bent track section.
Garage door repair in San Jacinto typically costs between $120 and $400 depending on the part: roller replacement runs $120-$180, spring replacement $200-$350, and track repair $200-$400. The exact price depends on the door’s weight, spring type, and what the diagnosis reveals. Call (866) 883-7857 for an exact quote: estimates are free, and the price is agreed before any work starts.
Yes, most common repairs including spring replacement, roller replacement, and opener repairs can be completed the same day in San Jacinto. More involved work like panel replacement or full track replacement may require ordering parts. Call (866) 883-7857 early in the day for the fastest service.
On a Genie opener, three blinks means the opener won’t run at all, which points to a power issue: check the breaker, the GFCI outlet, and the opener’s internal fuse. Genie openers with a glass fuse near the power cord often blow that fuse during power surges, which are common in San Jacinto during electrical storms.
The Bottom Line
Garage door troubleshooting is not about matching a symptom to a part. It’s about reading the order of events: what happened first, and what it caused next. A door that reverses before the floor is often a spring tension problem, not a sensor problem. A grinding door is often a roller bearing, not a track. A dead opener is often a door that’s too heavy, not a bad motor. Run the manual lift test, check the sequence of failure, and you’ll diagnose correctly more often than most people who post “quick fix” videos online. When you need a professional, Osprey Garage Door Repair serves San Jacinto with a single focus: garage doors, and only garage doors. For more guides & resources, visit our blog. Call (866) 883-7857 for a free estimate.
Written by the team at Osprey Garage Door Repair, serving San Jacinto since 2011.